For about an hour last night, I seriously considered purchasing another desk chair for my studio. And because I’ve searched high and low for a green velvet high back desk chair with no success, I knew my only option was to purchase a chair from a place that will allow me to select a fabric.
So my mind automatically went to Ballard Designs. They do have a desk chair that I love, and I’ve looked at it several times in the past. Their Grammercy Desk Chair is beautiful, and I actually found a fabric that I thought would work perfectly in my studio.
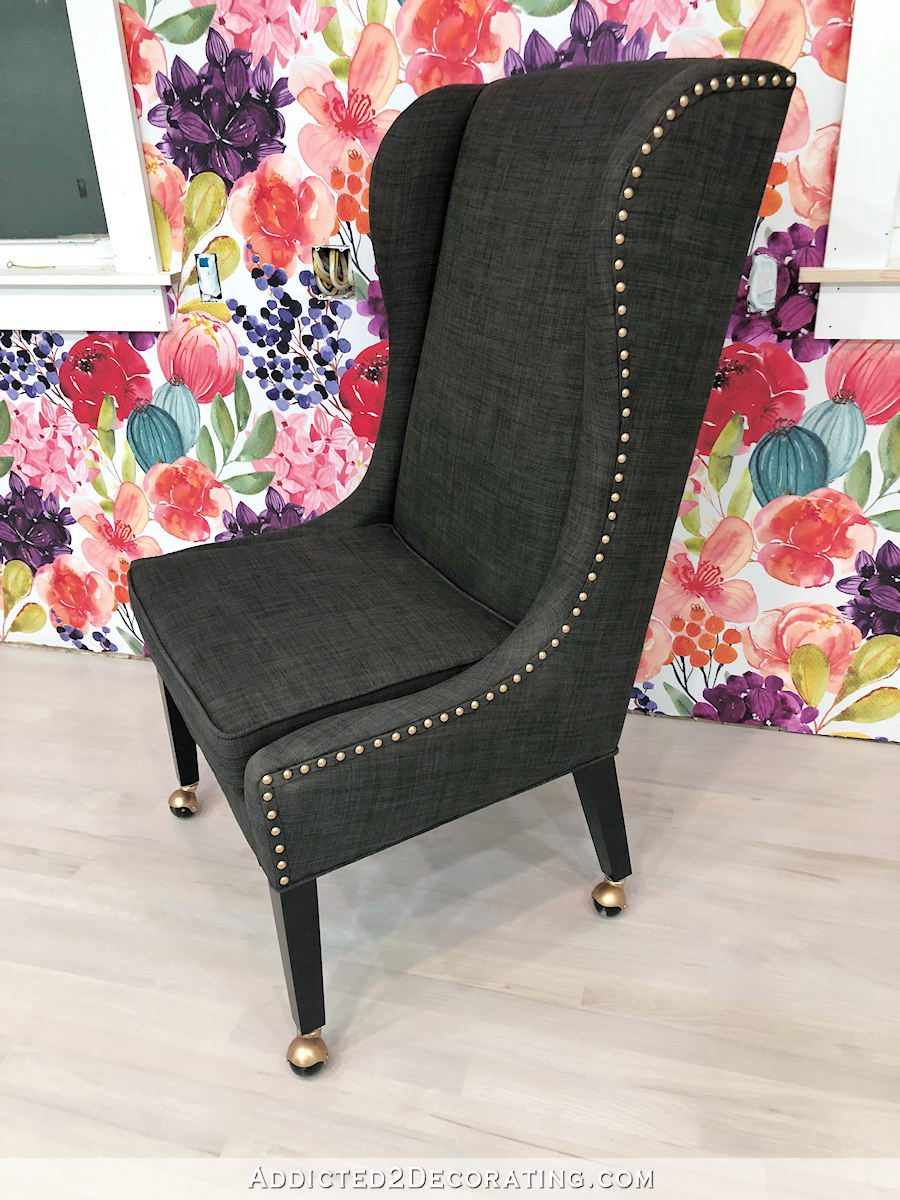
But after about an hour of serious contemplation, I came to my senses. (I just can’t justify paying $1100 for a desk chair when (1) I’m perfectly capable of reupholstering a chair, and (2) I have a perfectly good desk chair with a very high back and a shape that I love. Here’s what my current desk chair looks like…
I’ve done a lot of upholstering, so while it’s not my favorite thing to do (I’d much rather build than upholster), I just can’t let myself take the easy way out on this one, especially when the cost to do so is so high. Even having someone else reupholster my desk chair isn’t something I’d consider because (1) the wait time for local upholsterers is generally about two months, and (2) the cost for labor would start at about $500 for my chair (it’s a wingback with a separate seat cushion), not including the fabric cost.
So I’m afraid that my only option is to keep my current desk chair, and reupholster it myself. That’s fine. I’m capable. After all, I once built a chair from scratch and then upholstered it myself. Do y’all remember that? 😀 I even matched the patterns and everything. I was so proud of this project!

So I’m now 100% committed to upholstering my own desk chair. I’m going to stop looking for an escape route from this project because I’ve exhausted all other options. There’s no desk chair in existence that fits my criteria. So now, my only goal is to find the perfect fabric for my chair.
Since I did really like the fabric that I selected for the Ballard Designs chair, I decided to go ahead and order a swatch since they sell that fabric by the yard. It’s not velvet, so I’ll have to see what it looks and feels like in person. If my cat can easily get her little claws into this fabric, it won’t work. She’s been using my desk chair as a scratching post since we got her. (And yes, she has three other scratching posts, but she still loves to use my chair.)
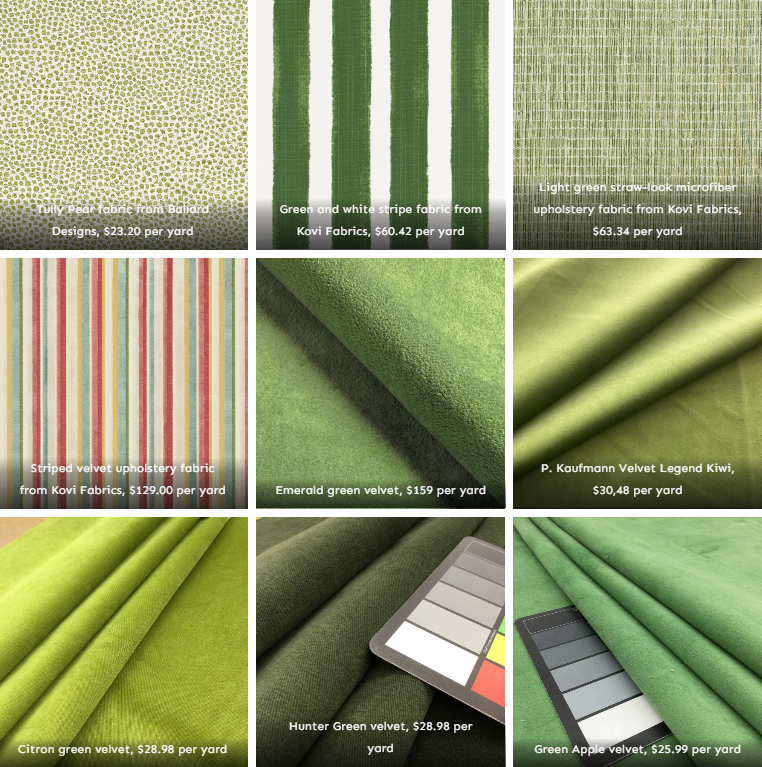
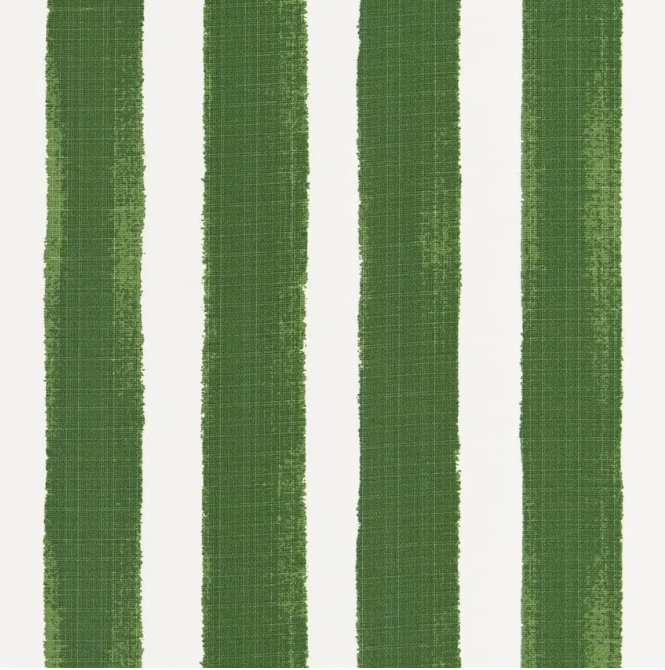
From there, I just did a search for “green velvet upholstery fabric” to see what I could find. I did find some velvet options, but I also came across others that I couldn’t resist, like this green and white stripe.
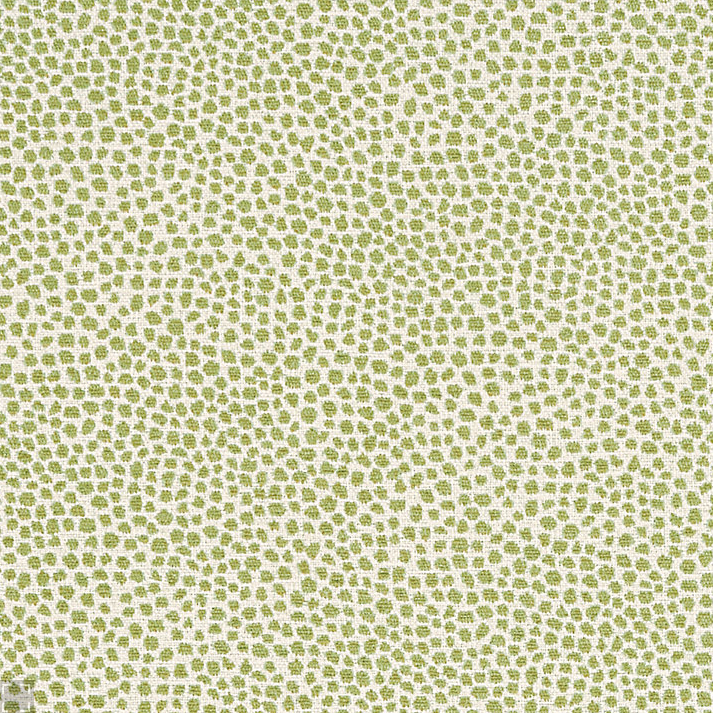
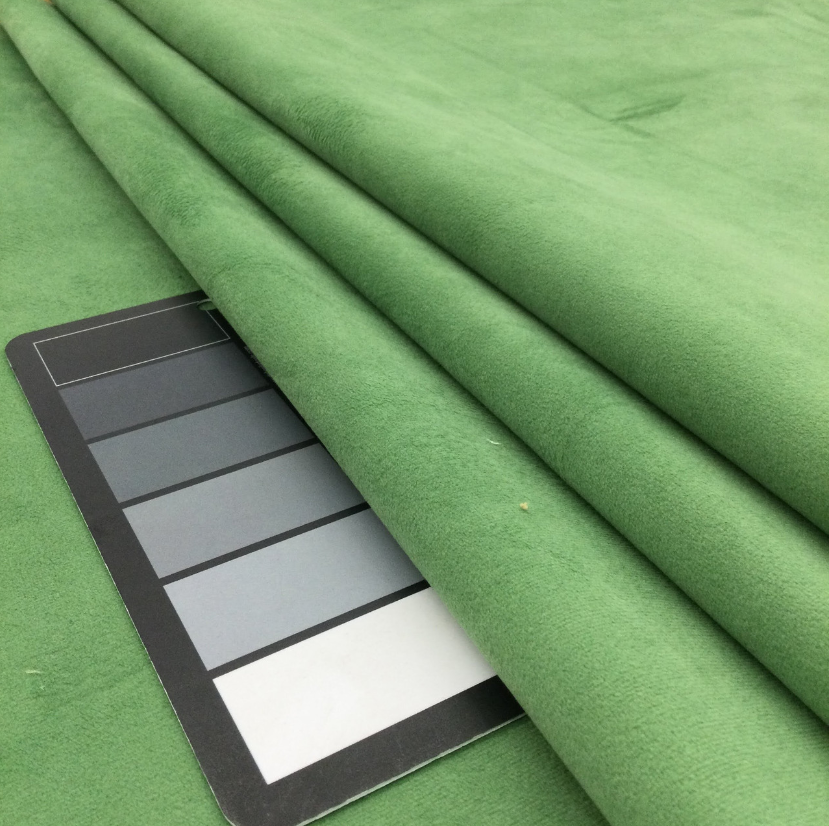
I love the textured look of this one. It’s microfiber, and I’ve heard that it’s good for houses with cat as well, so we’ll see if it’s a good option.
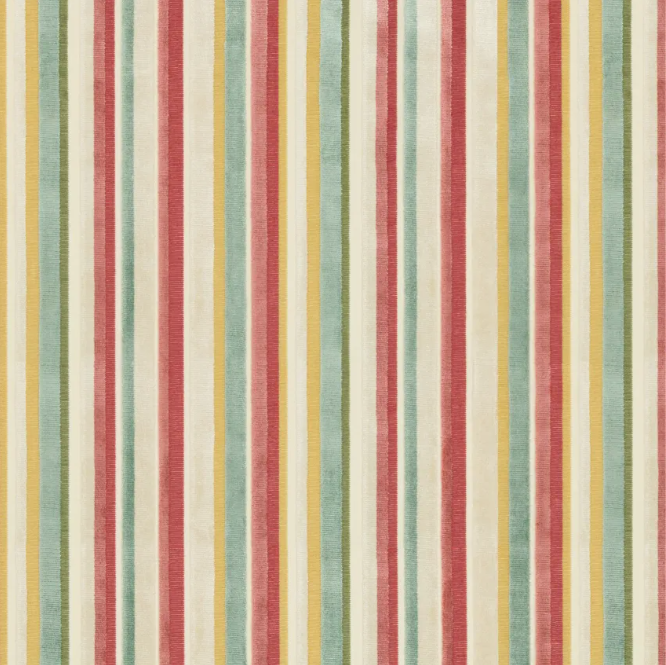
And then I came across this velvet and absolutely could NOT resist. I love this so much!! I have a feeling that the colors will be all wrong, but I still had to see this for myself. The price is a bit hard to swallow, but I think I’ll only need three yards. So it would still be much cheaper than paying someone else to reupholster my chair.
And then I found several solid color green velvets. I’m so anxious to get this sample in my hand and see why in the world it costs $150 per yard. What could make a velvet that special?
I’ve used many P. Kaufmann fabrics in the past, and I’ve always been happy with them. This one is more in the price range I was expecting to pay.
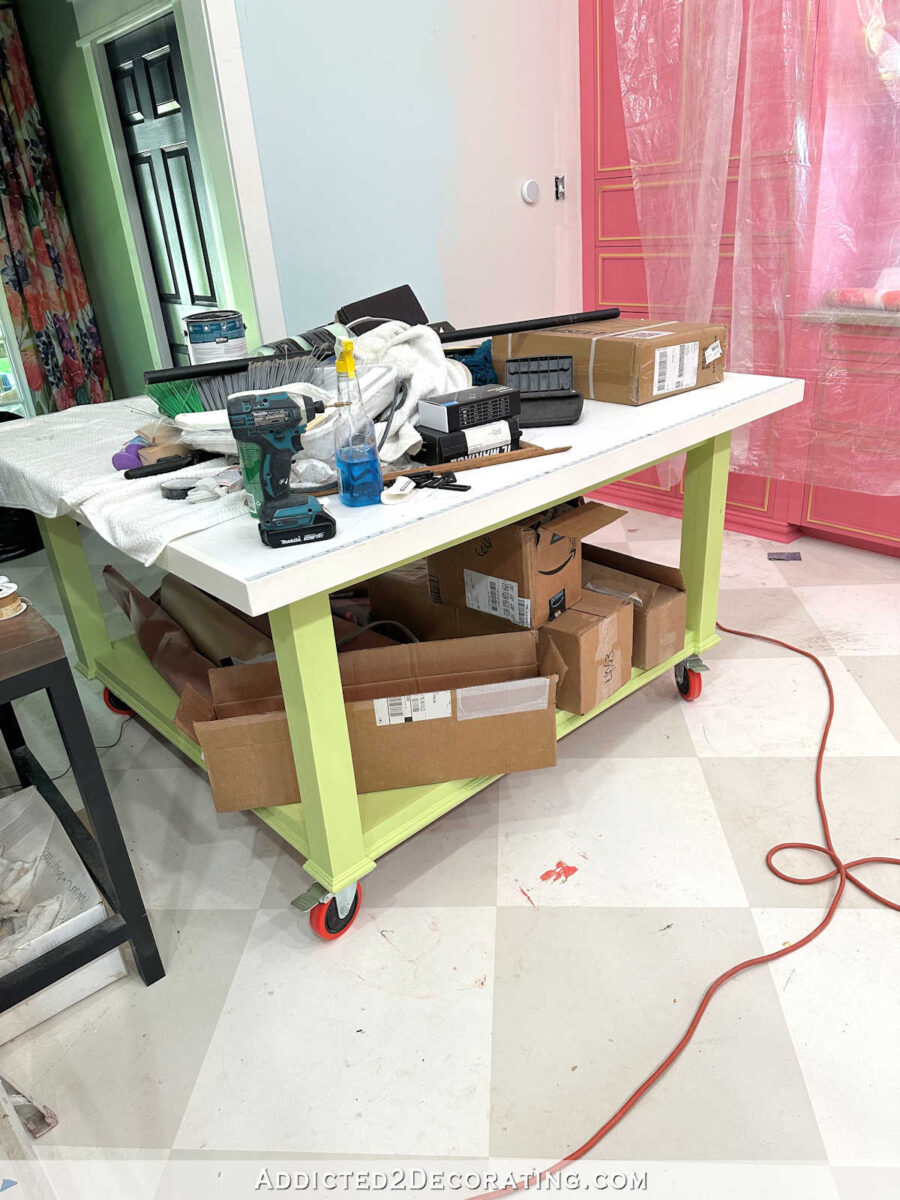
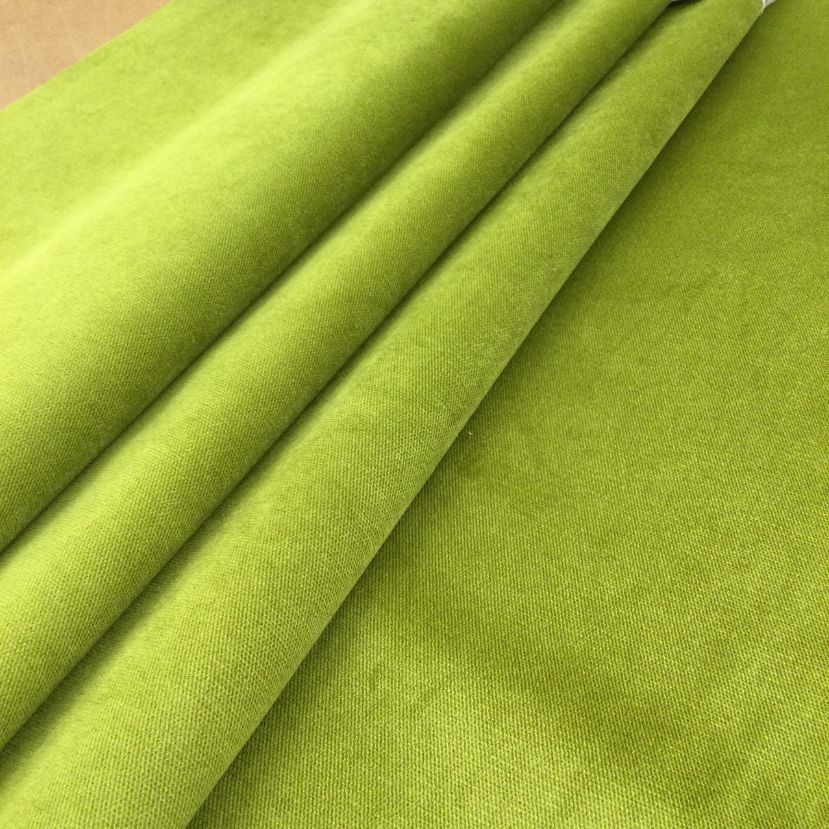
I have a feeling this one will be way too bright. It’s kind of the color that the bases of my work tables were before I repainted them earlier this week. But maybe in person it won’t be quite this bright.
This one is way on the opposite end of the spectrum. I have a feeling it will be too dark, but I still want to see it in person.
If I’m going to go with a solid color, I actually hope this is the one that works the best. This is a happy green, and I’m really hoping it plays nicely with my pink cabinets.
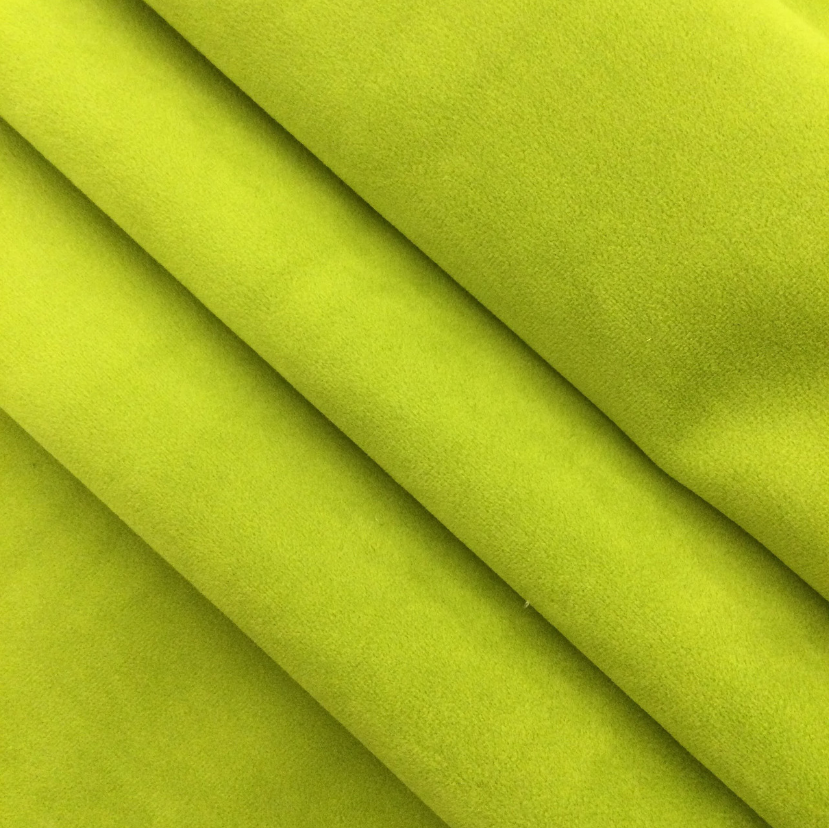
And then I got two more swatches that are called Citron. In all, three swatches I bought are called Citron, and they’re all very different, so it’ll be interesting to see what they actually look like in person.
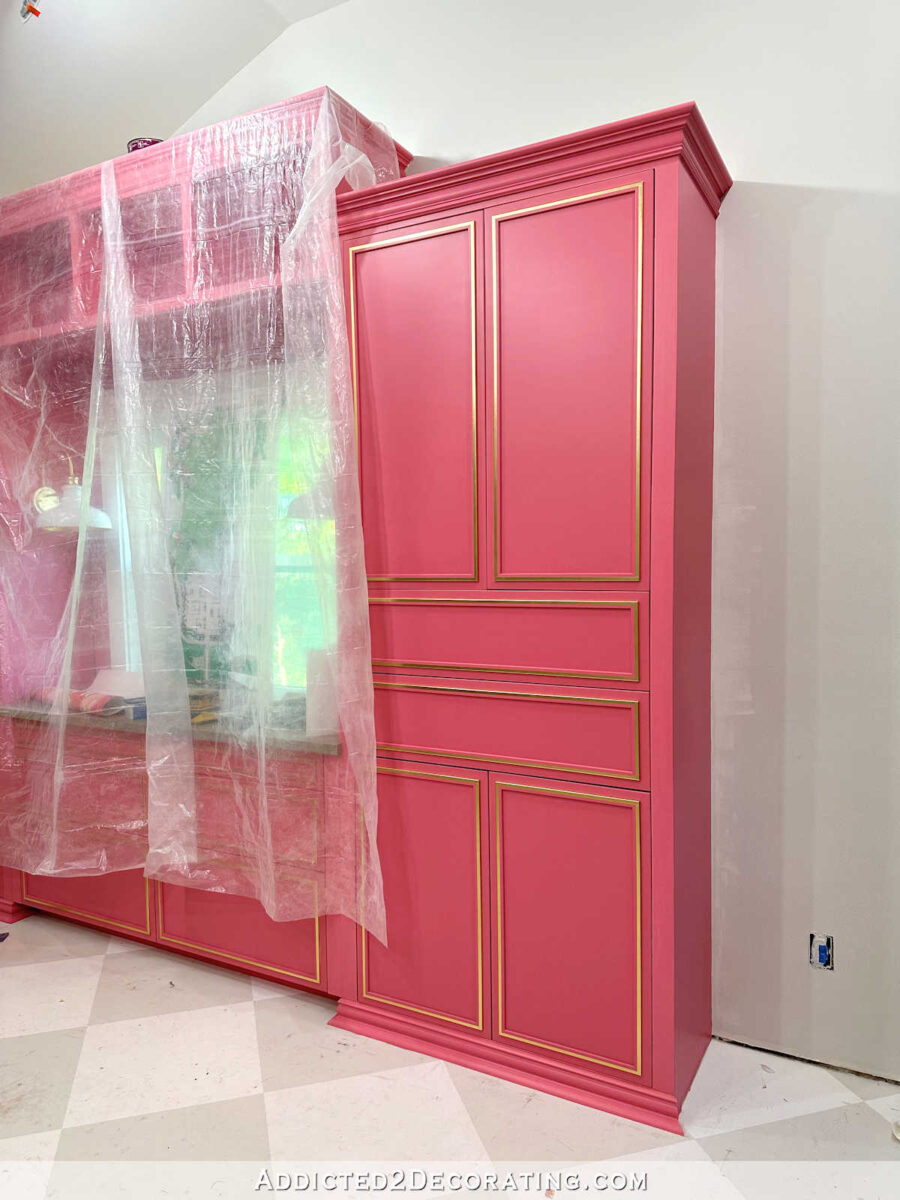
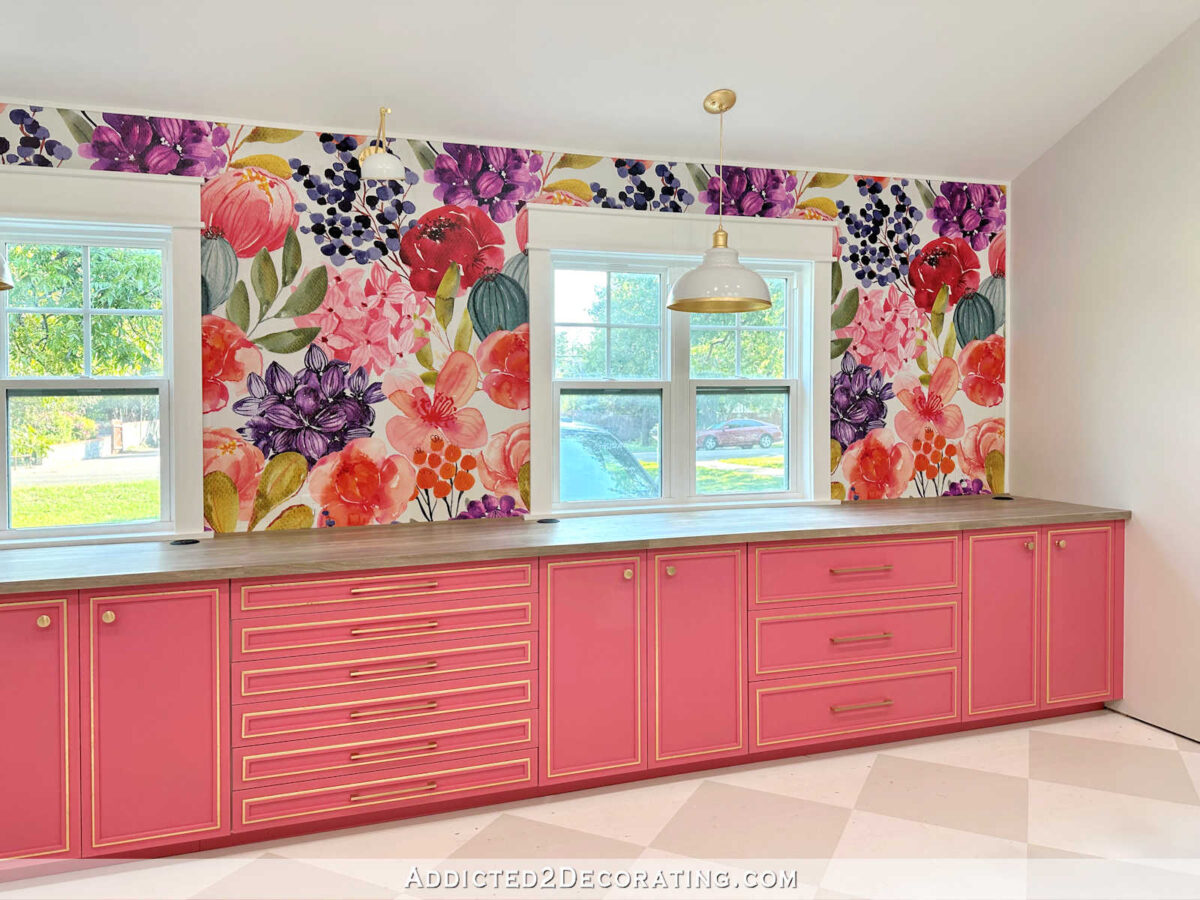
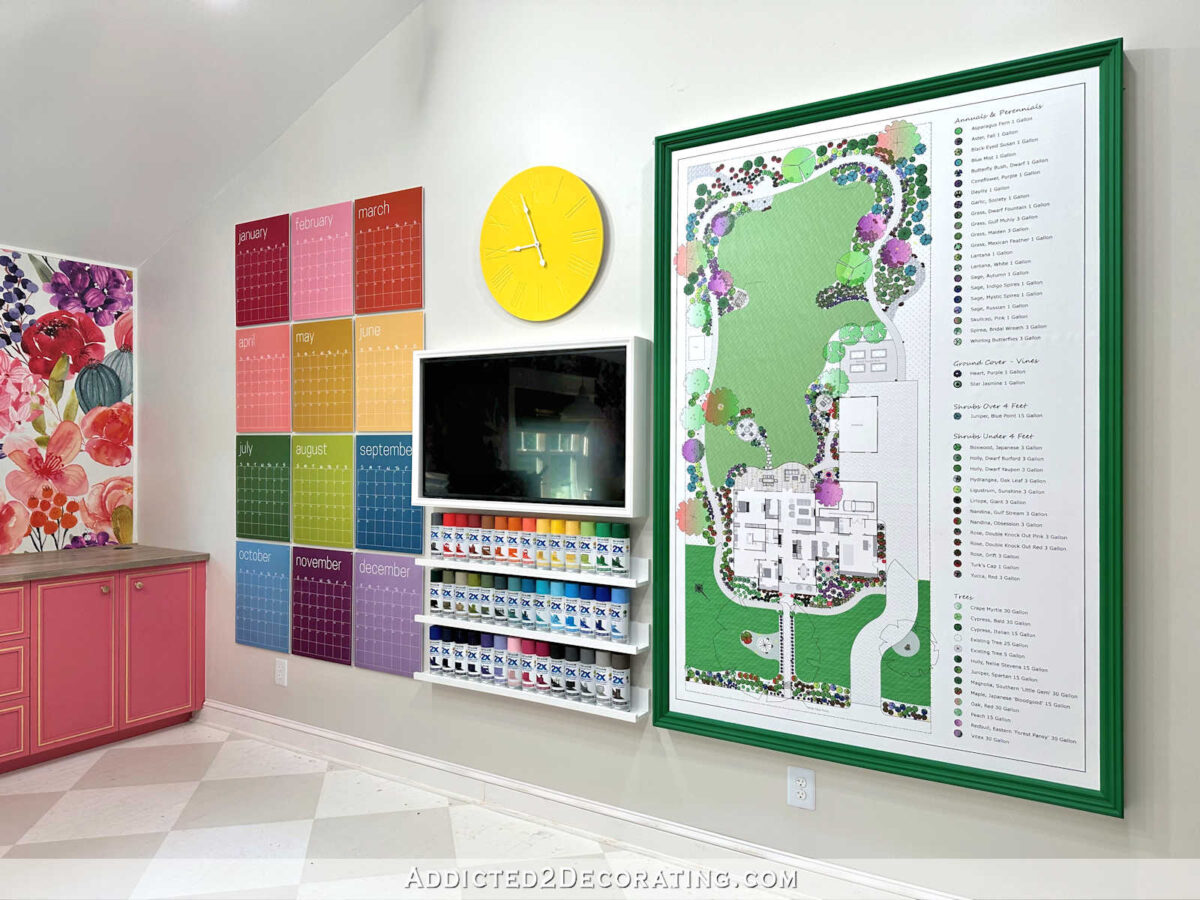
So let’s review. 😀 The chair will be sitting in front of these cabinets…

I also have an entire wall of cabinets that color on the wall perpendicular to those cabinets…
The wall opposite the desk area looks like this…
And the desk area is right by the back entry, which looks like this…

And these are the swatches I’ve ordered…


I’m hoping one of the first three works. If I had to choose today just based on the pictures, my favorite is the light green straw-look microfiber. I hope I like it as much in person as I do in the picture! And I also hope it’ll stand up against cat claws l like velvet does.

Addicted 2 Decorating is where I share my DIY and decorating journey as I remodel and decorate the 1948 fixer upper that my husband, Matt, and I bought in 2013. Matt has M.S. and is unable to do physical work, so I do the majority of the work on the house by myself. You can learn more about me here.