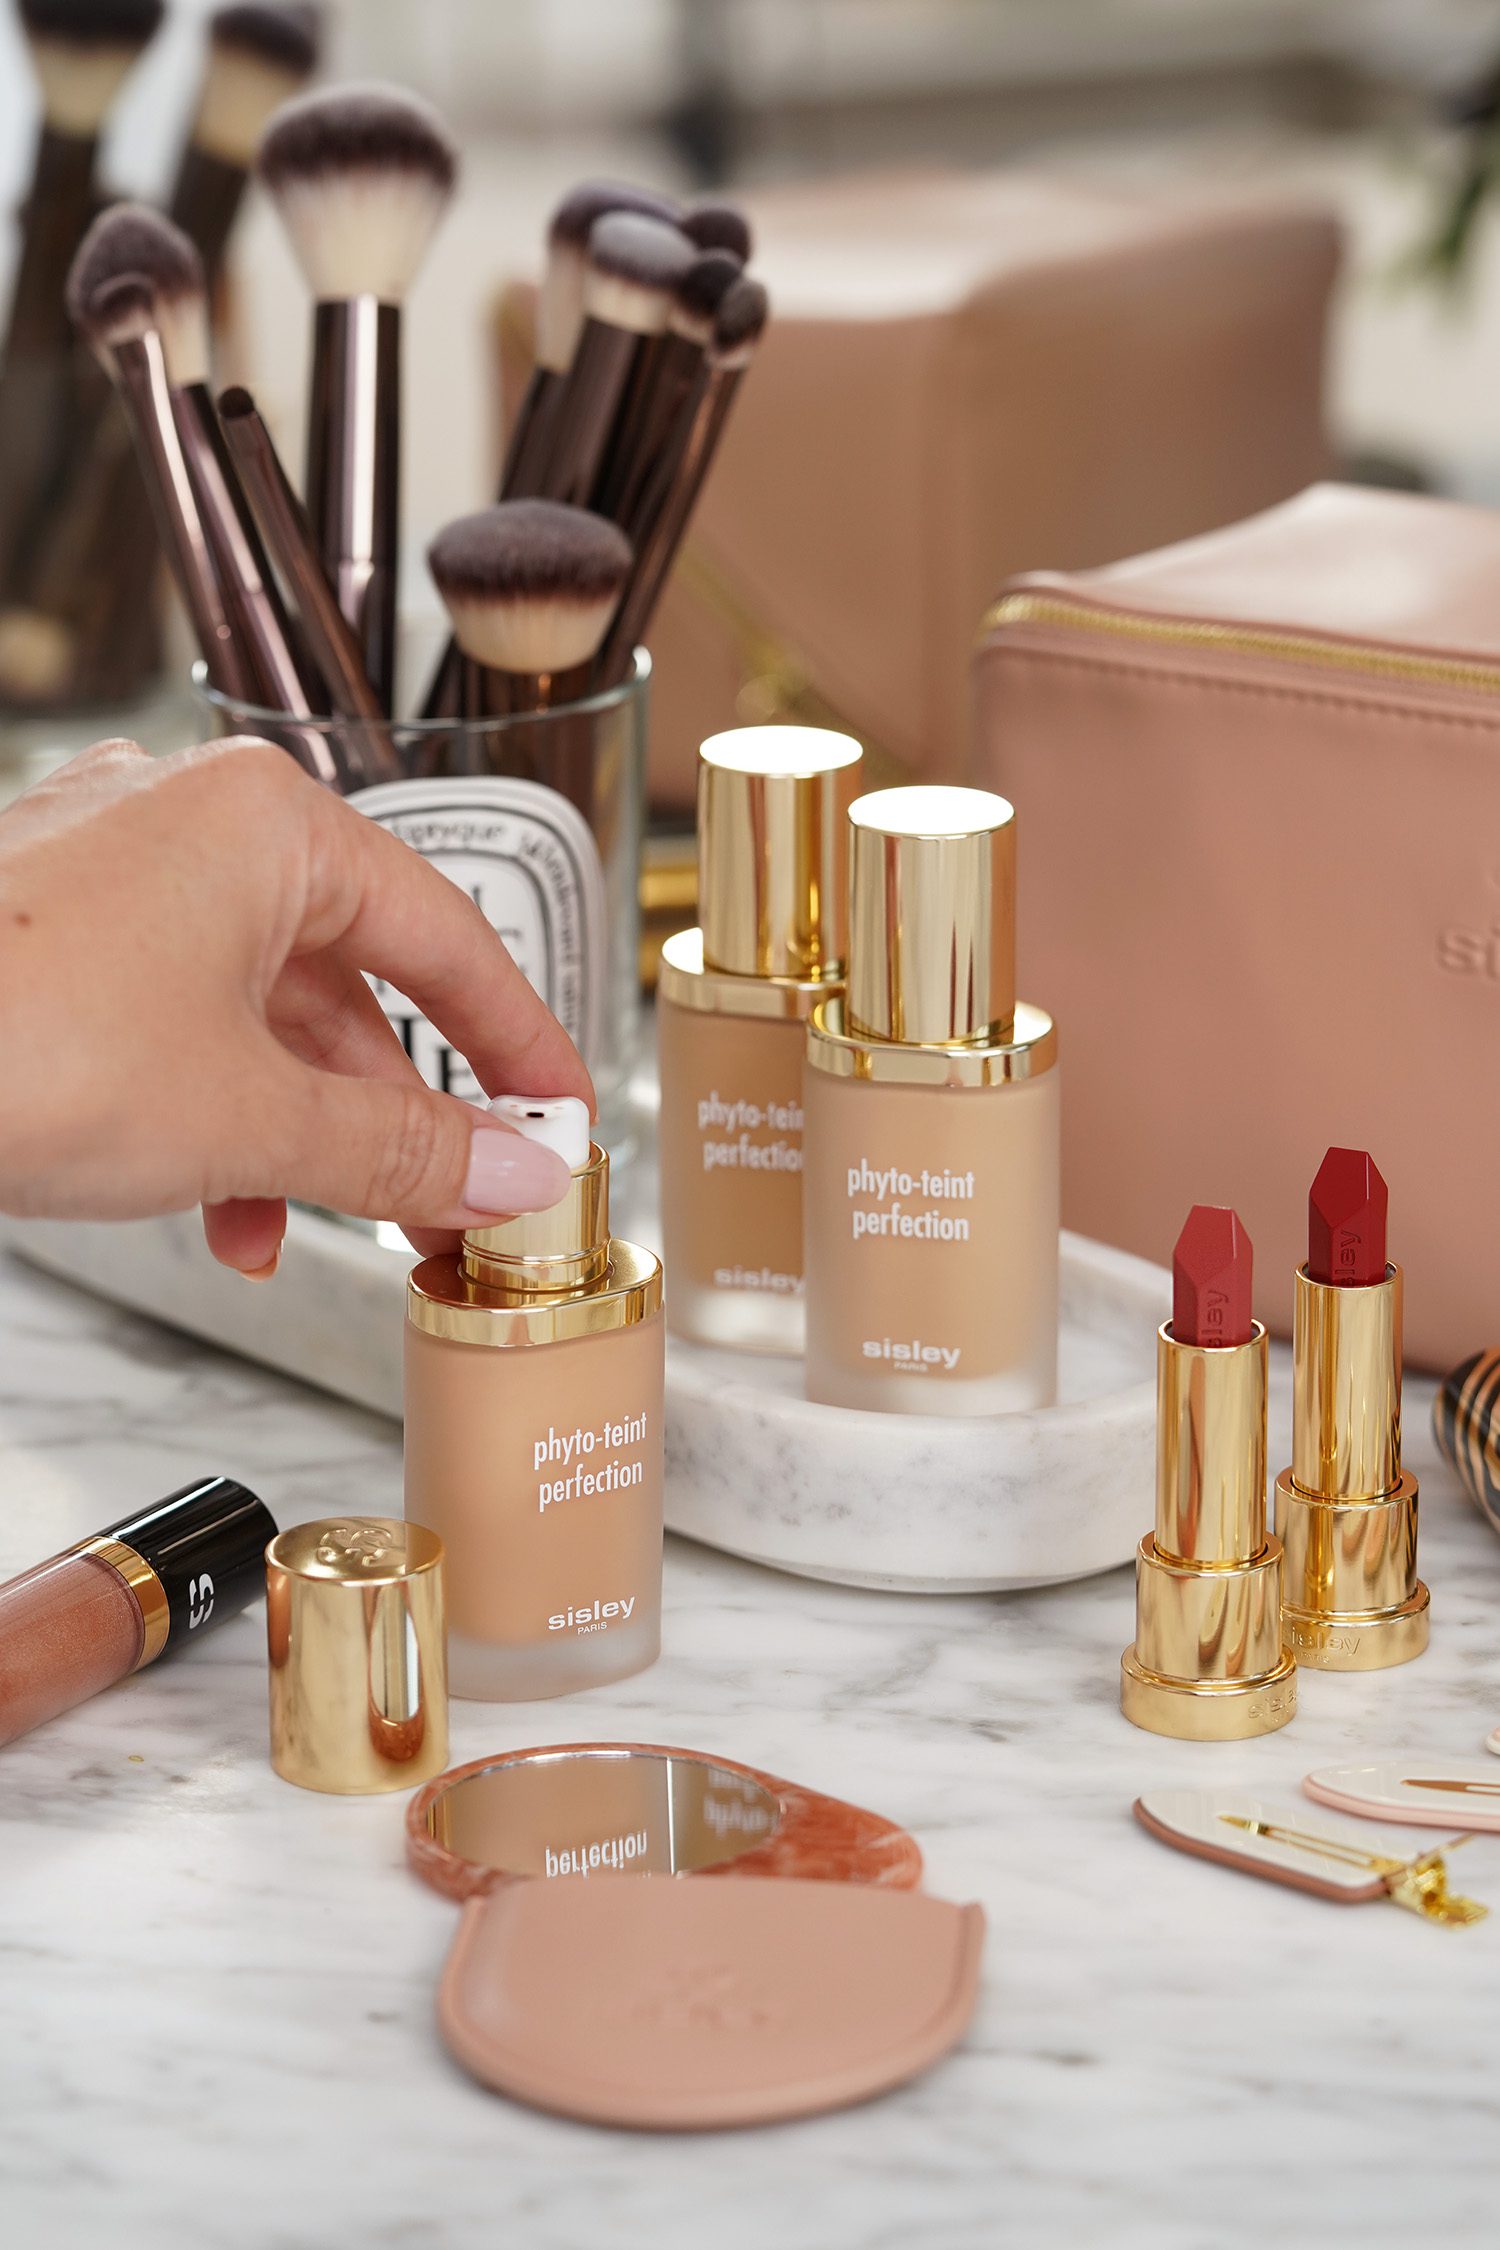
One of my favorite beauty brands Sisley launched a new foundation called the Phyto-Teint Perfection Foundation ($125). Sisley products are quite the splurge but in my experience everything I’ve ever tried whether purchased or a press sample has been exceptional in quality and performance.
The Sisley team sent over a few shades of their new foundation and new shades of Le Phyto Rouge Lipstick ($70) shades to try. Today I have a review + swatches.
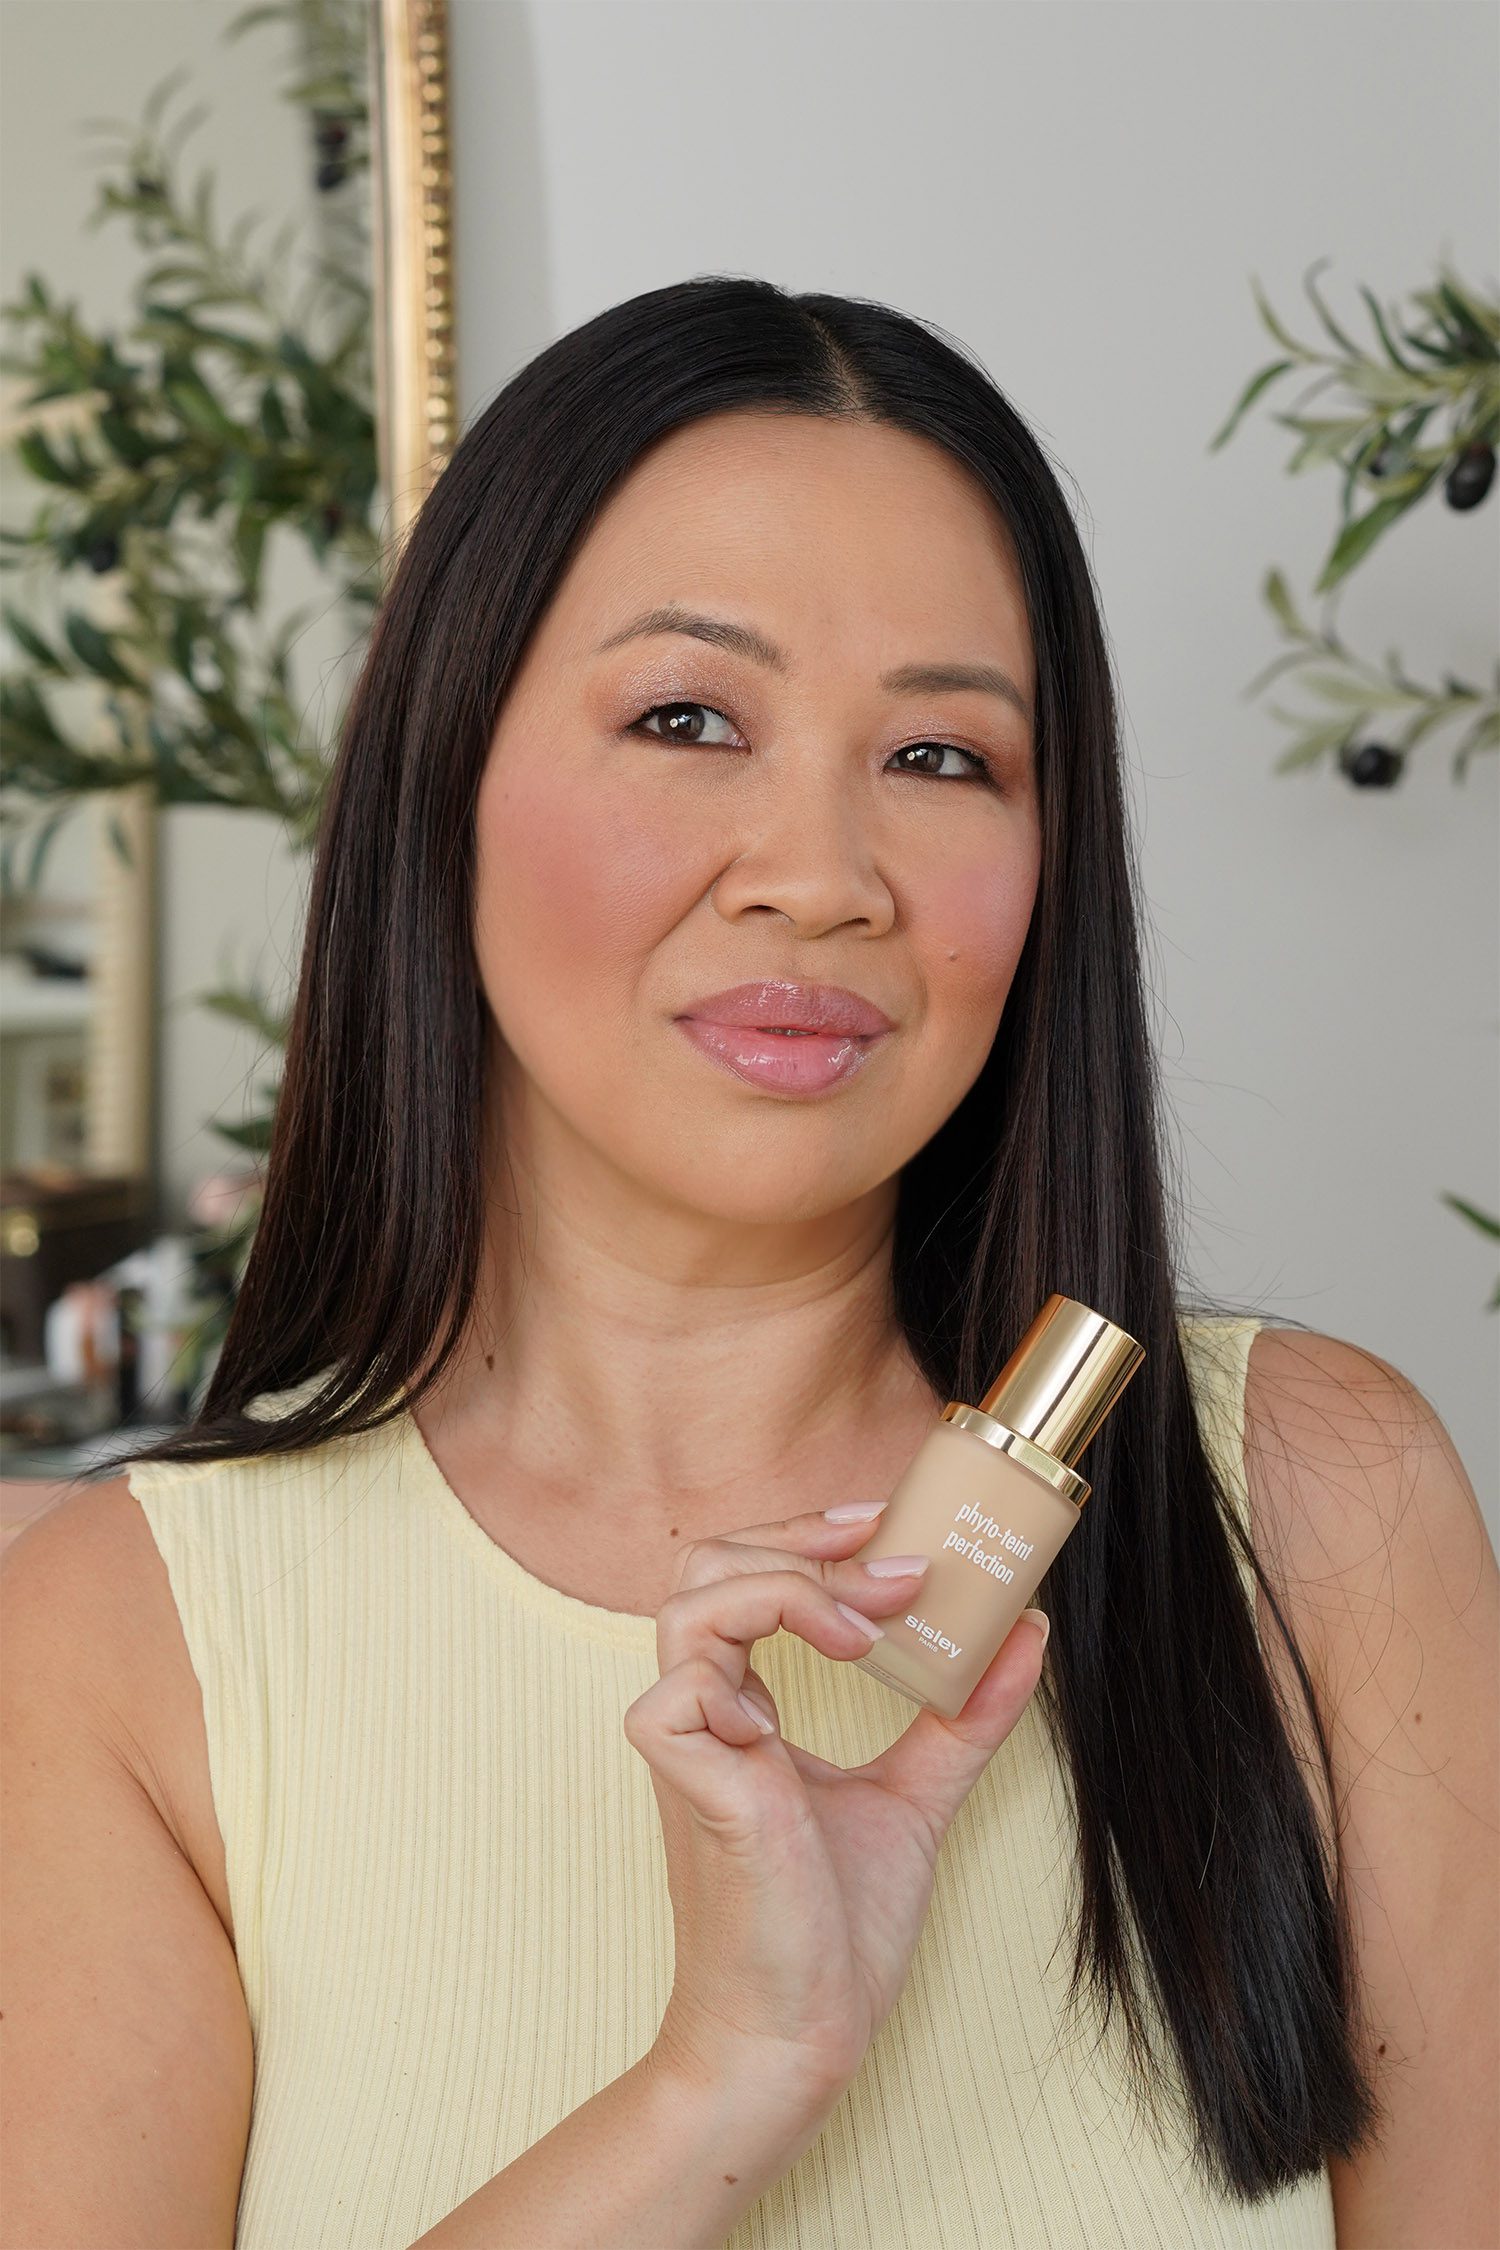
Phyto-Teint Perfection Foundation
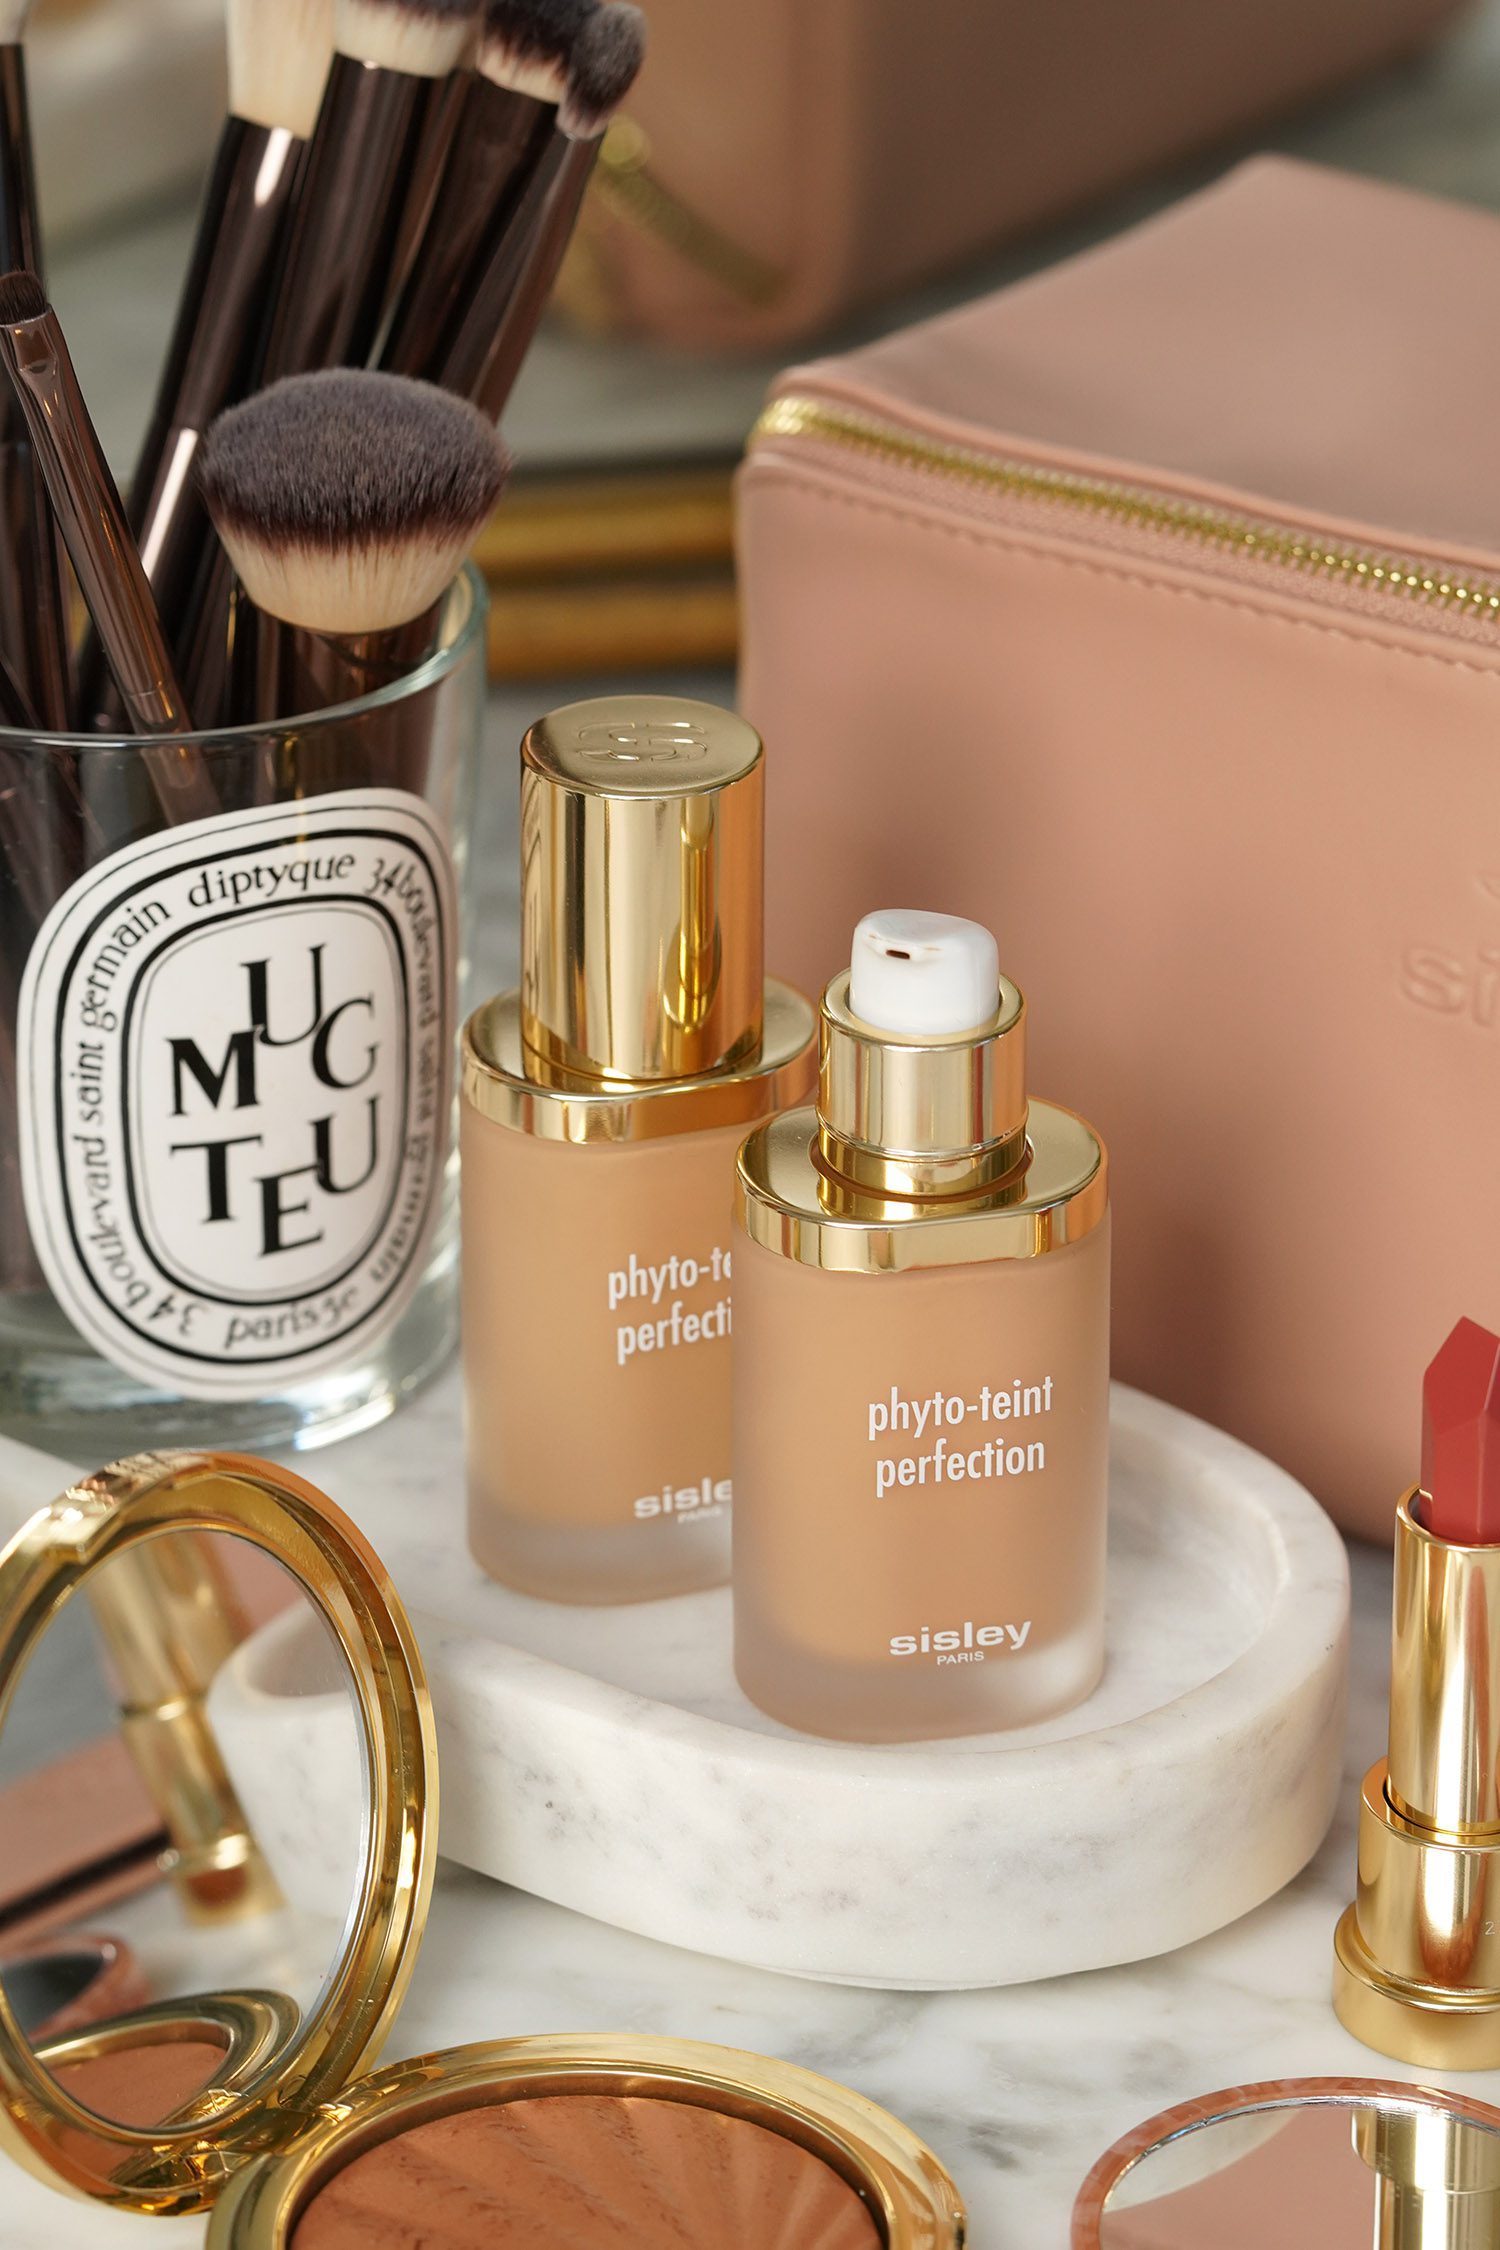
The Phyto-Teint Perfection Foundation is a medium-full coverage formula that gives a soft matte look with a blurred finish. It’s almost like wearing a filter on your face with the way it blurs out the skin. It’s described as “radiant matte” although to me it still feels like a true matte, perhaps a soft matte is a better description.
It’s described as having medium coverage that is buildable and I 100% agree. Still the pigment is opaque enough that I feel less is more. A little goes a VERY long way. I would recommend dotting or dabbing on spots around the face and blending with a brush or sponge. If you apply too much it will look thick.
You can see the transformation in this video linked below. It blends out really nicely.
Lasting power is very good. It sets to a beautiful finish I think I could probably skip powder.
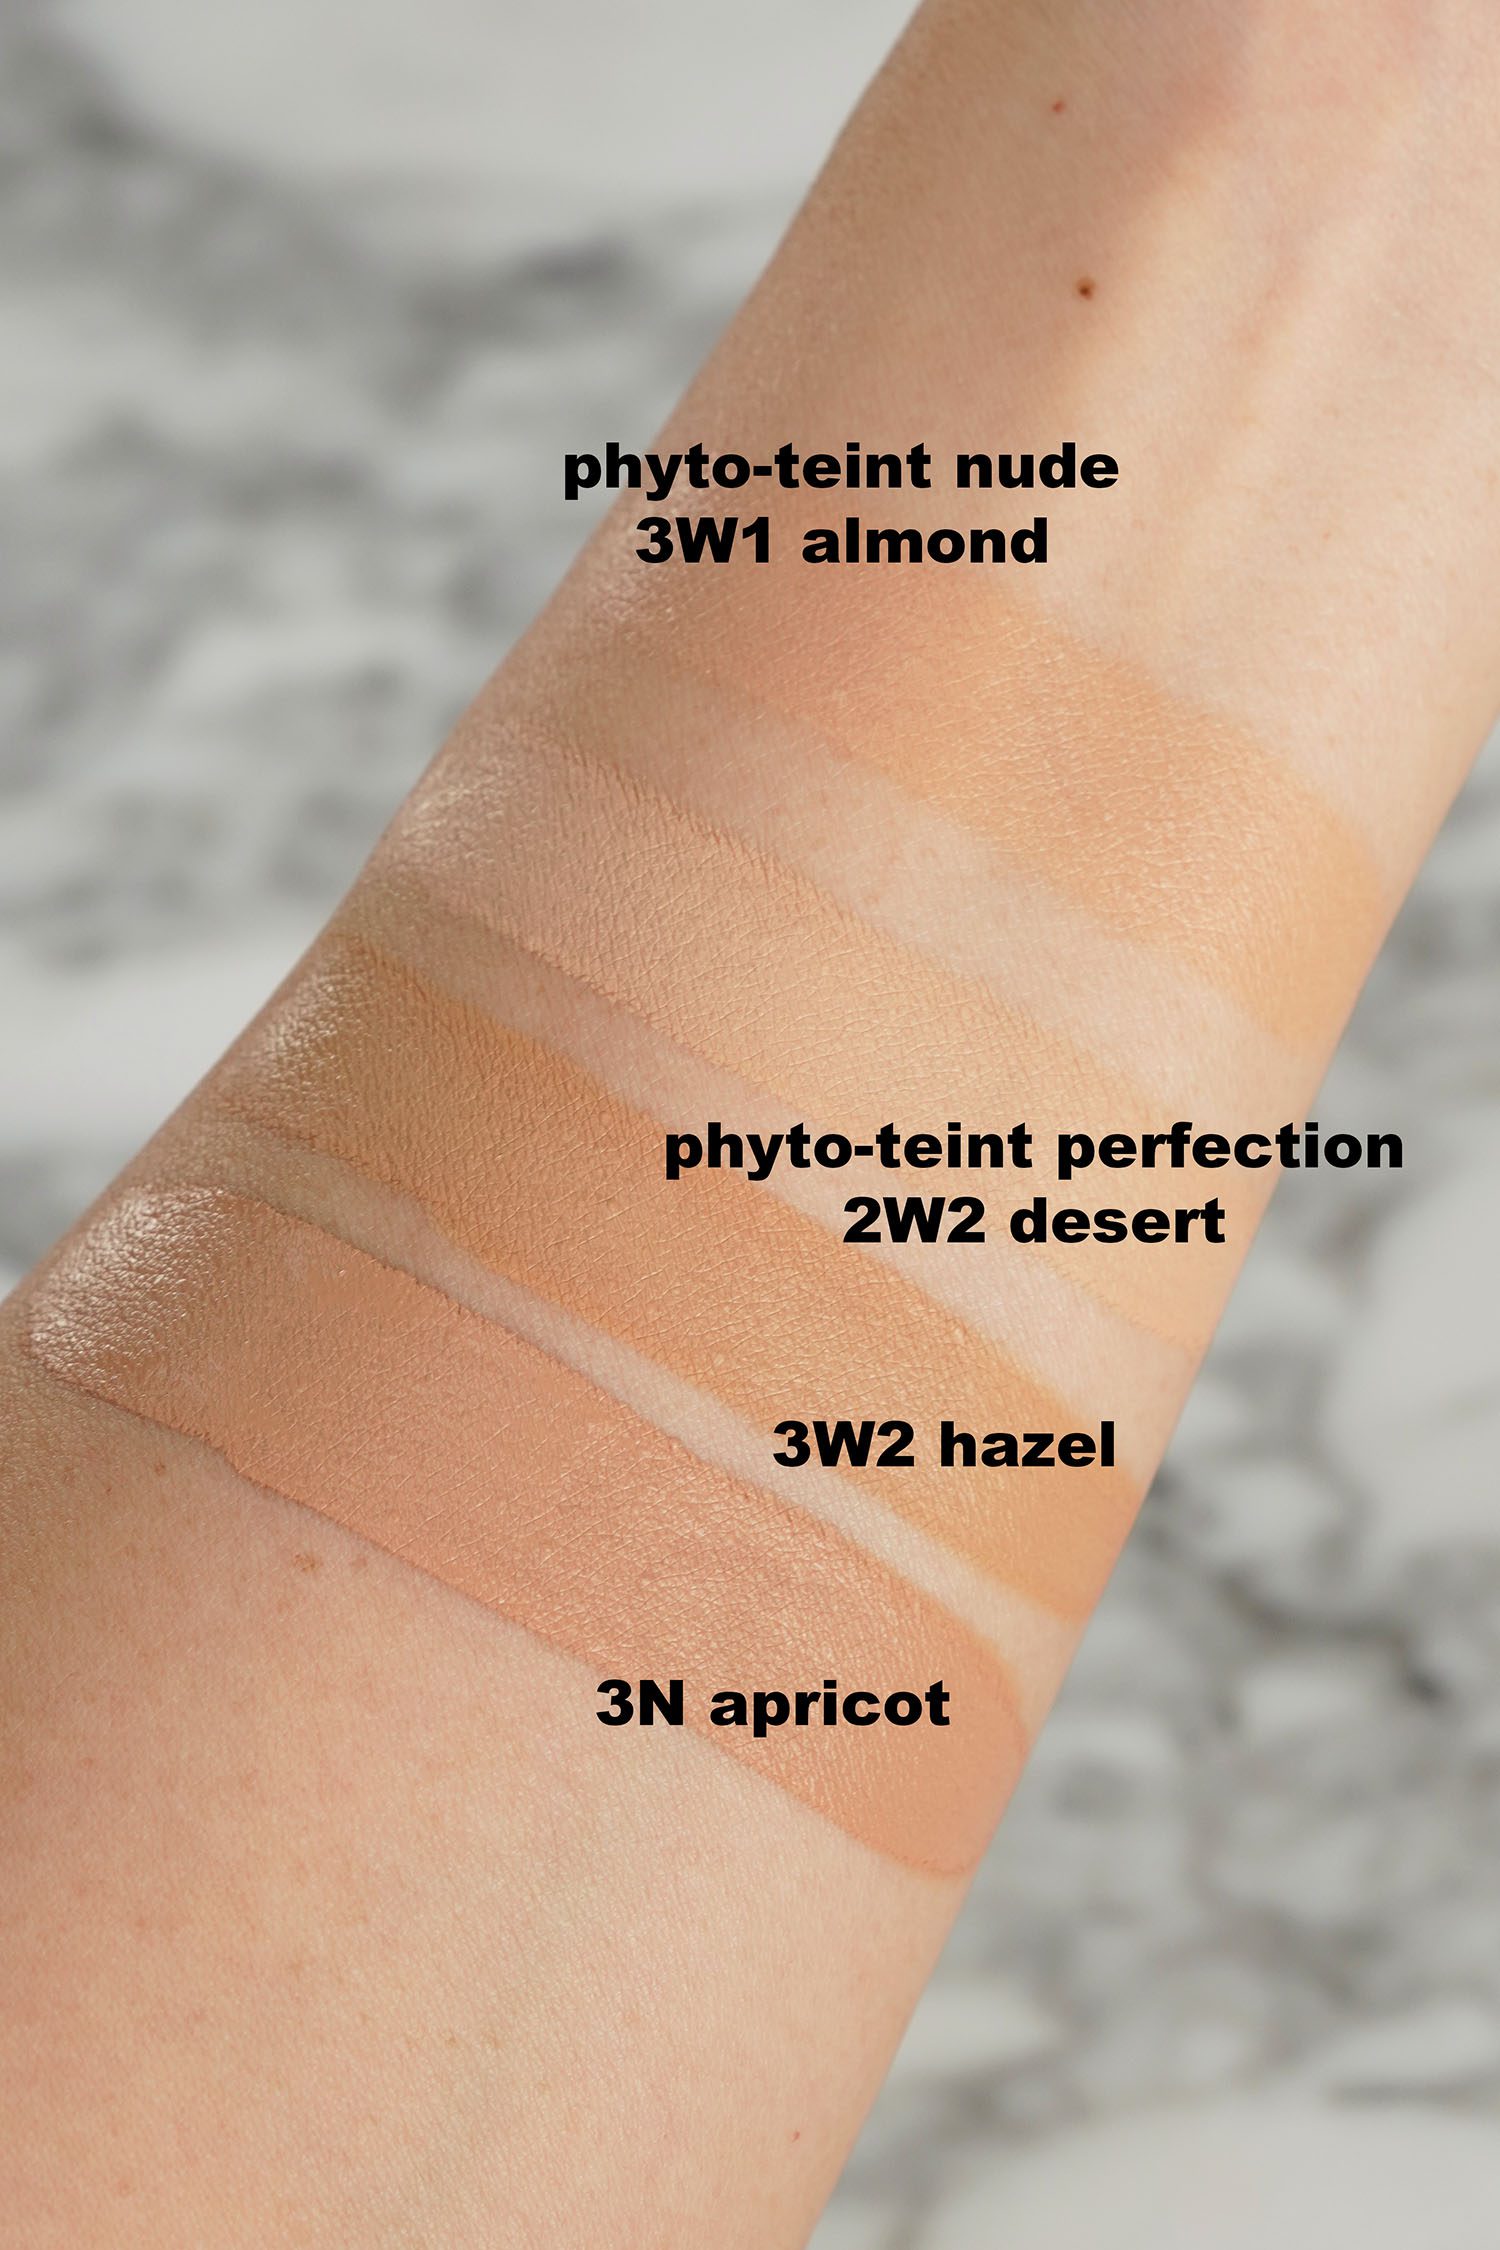
Shade wise I’m in between colors as I am still my winter skin tone. The foundation shades in the 3 shade range should match in a month or so as match my other Sisley foundations (I still love the Phyto-Teint Nude reviewed here). The Sisley team sent 3N Apricot and 3W2 Hazel, both of which are a little too dark for me. I ordered 2W2 Desert in hopes it would match but there is quite a big gap between 2 and 3. Mixing the two gives me the perfect match right now. (I ordered from Selfridges and signed up for their year long flat rate global shipping.)
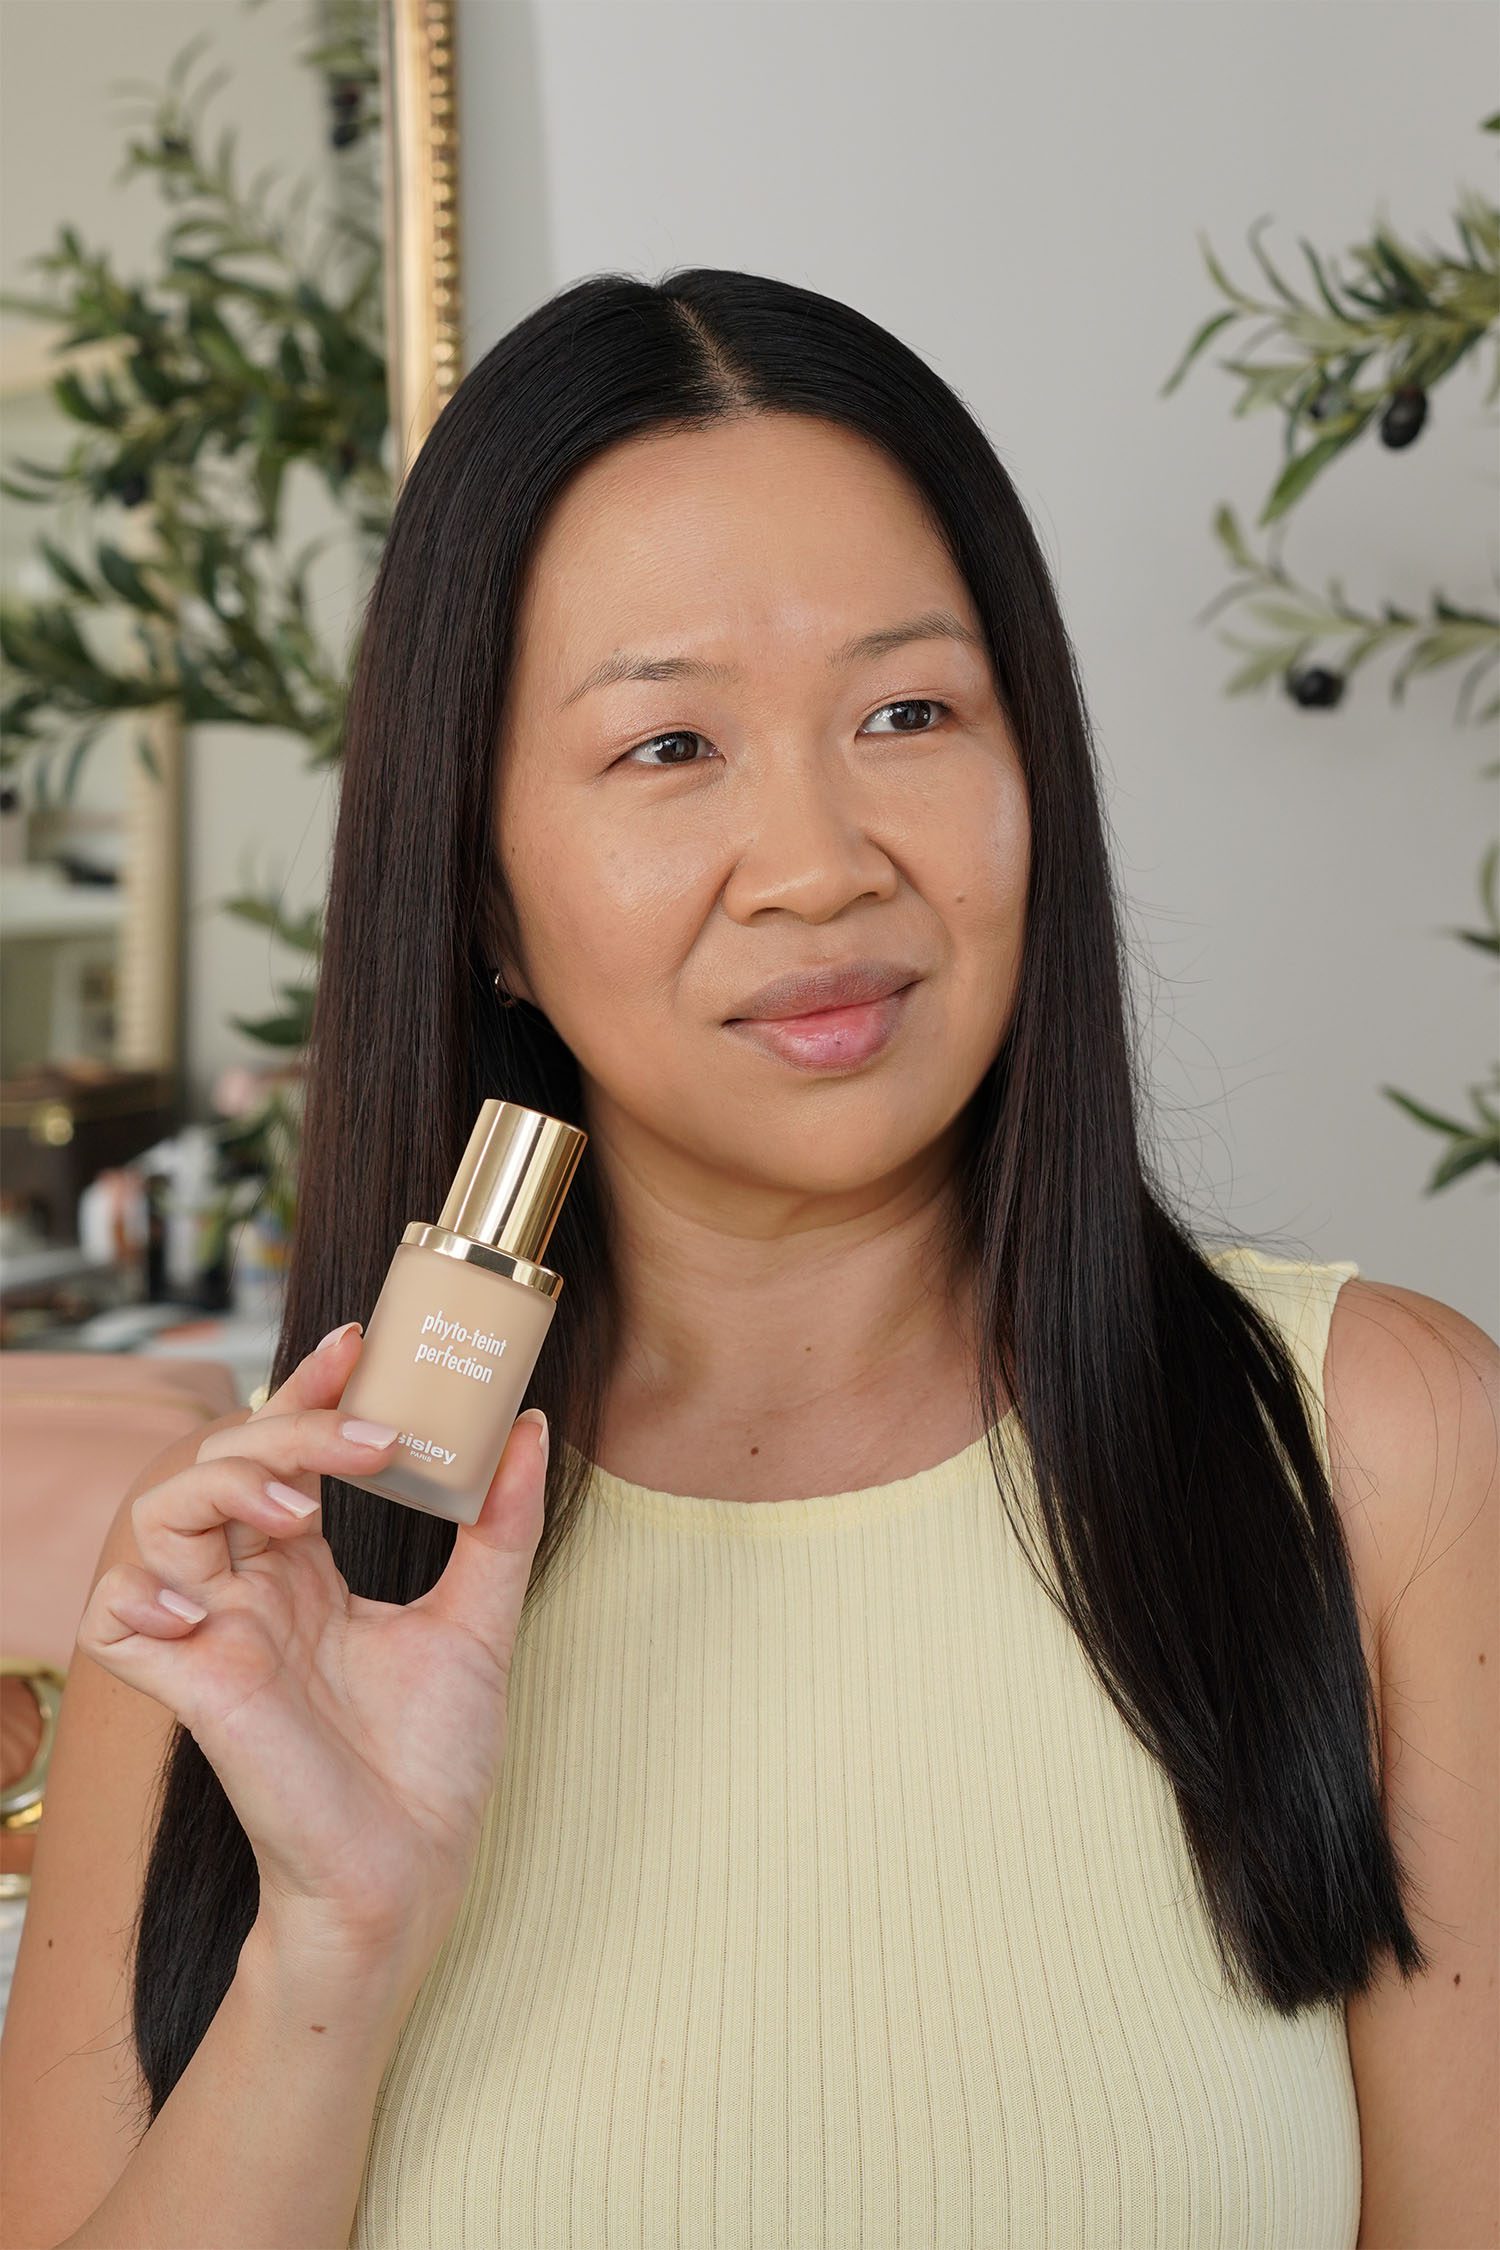
Overall love. I would say if you have texture or super dry skin this might emphasize imperfections as any matte finish will do. That being said my skin has been going through a hormonal skin flare up and I have break outs galore. This foundation covered everything so well and so smoothly I’ve gotten comments about how good my skin looks with this on (when underneath the base it does not).
Below with just the foundation on:
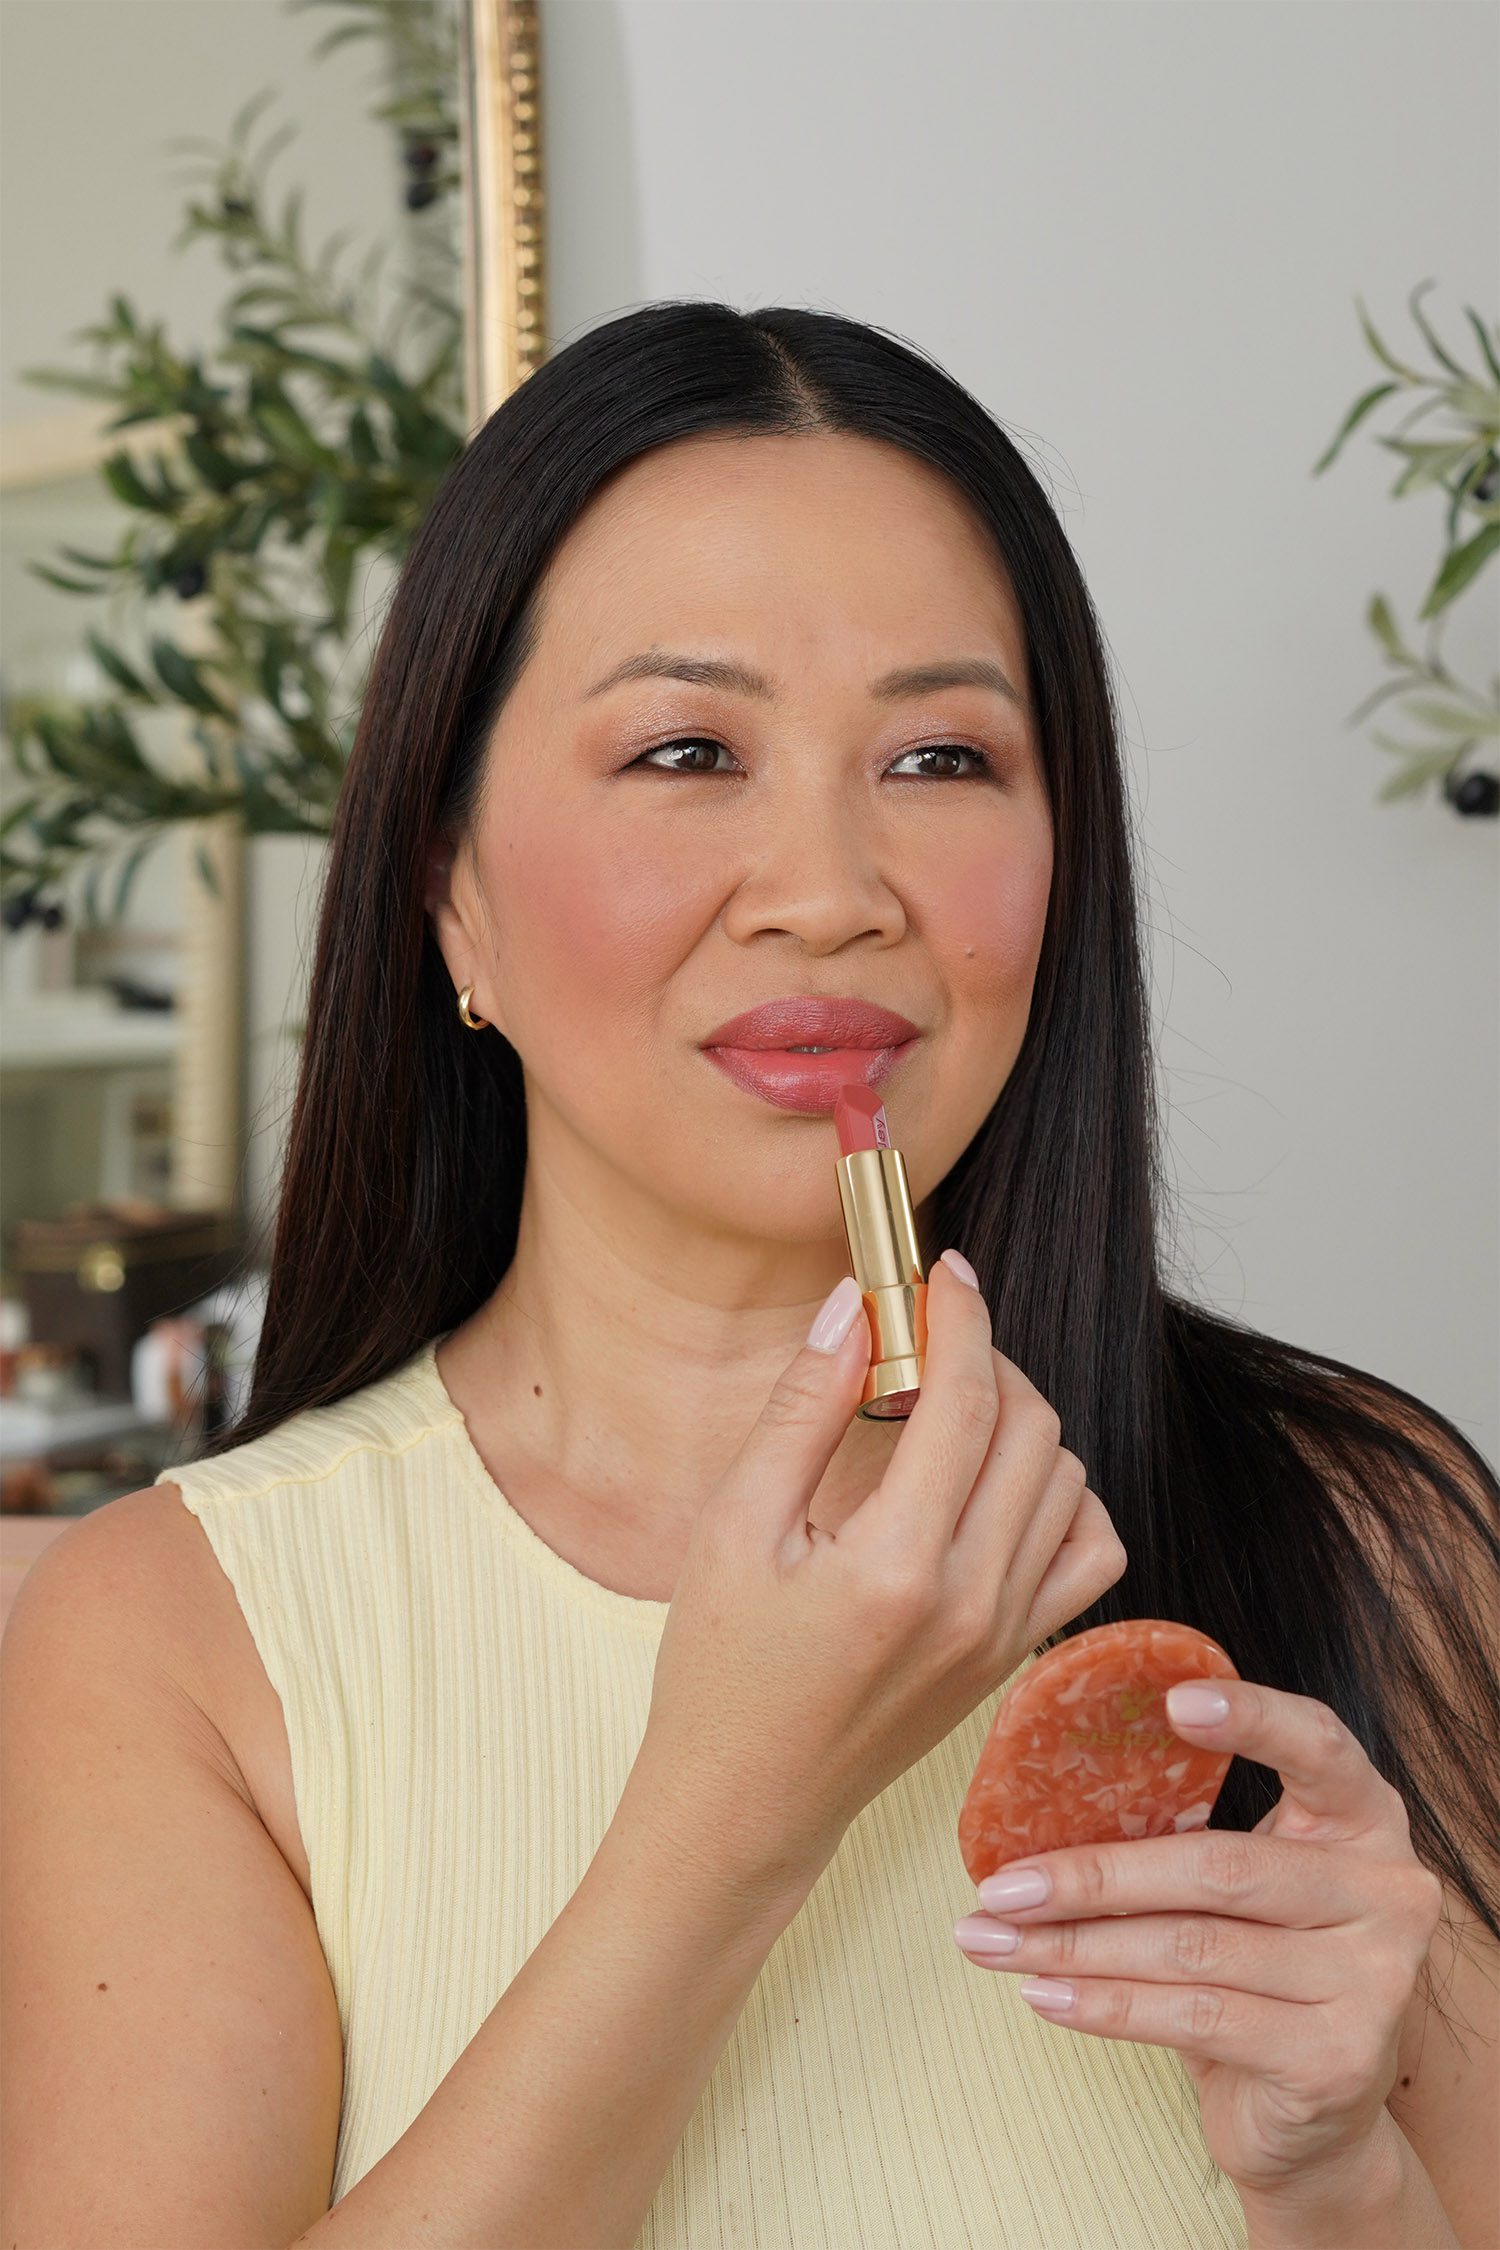
Below with a full face wearing:
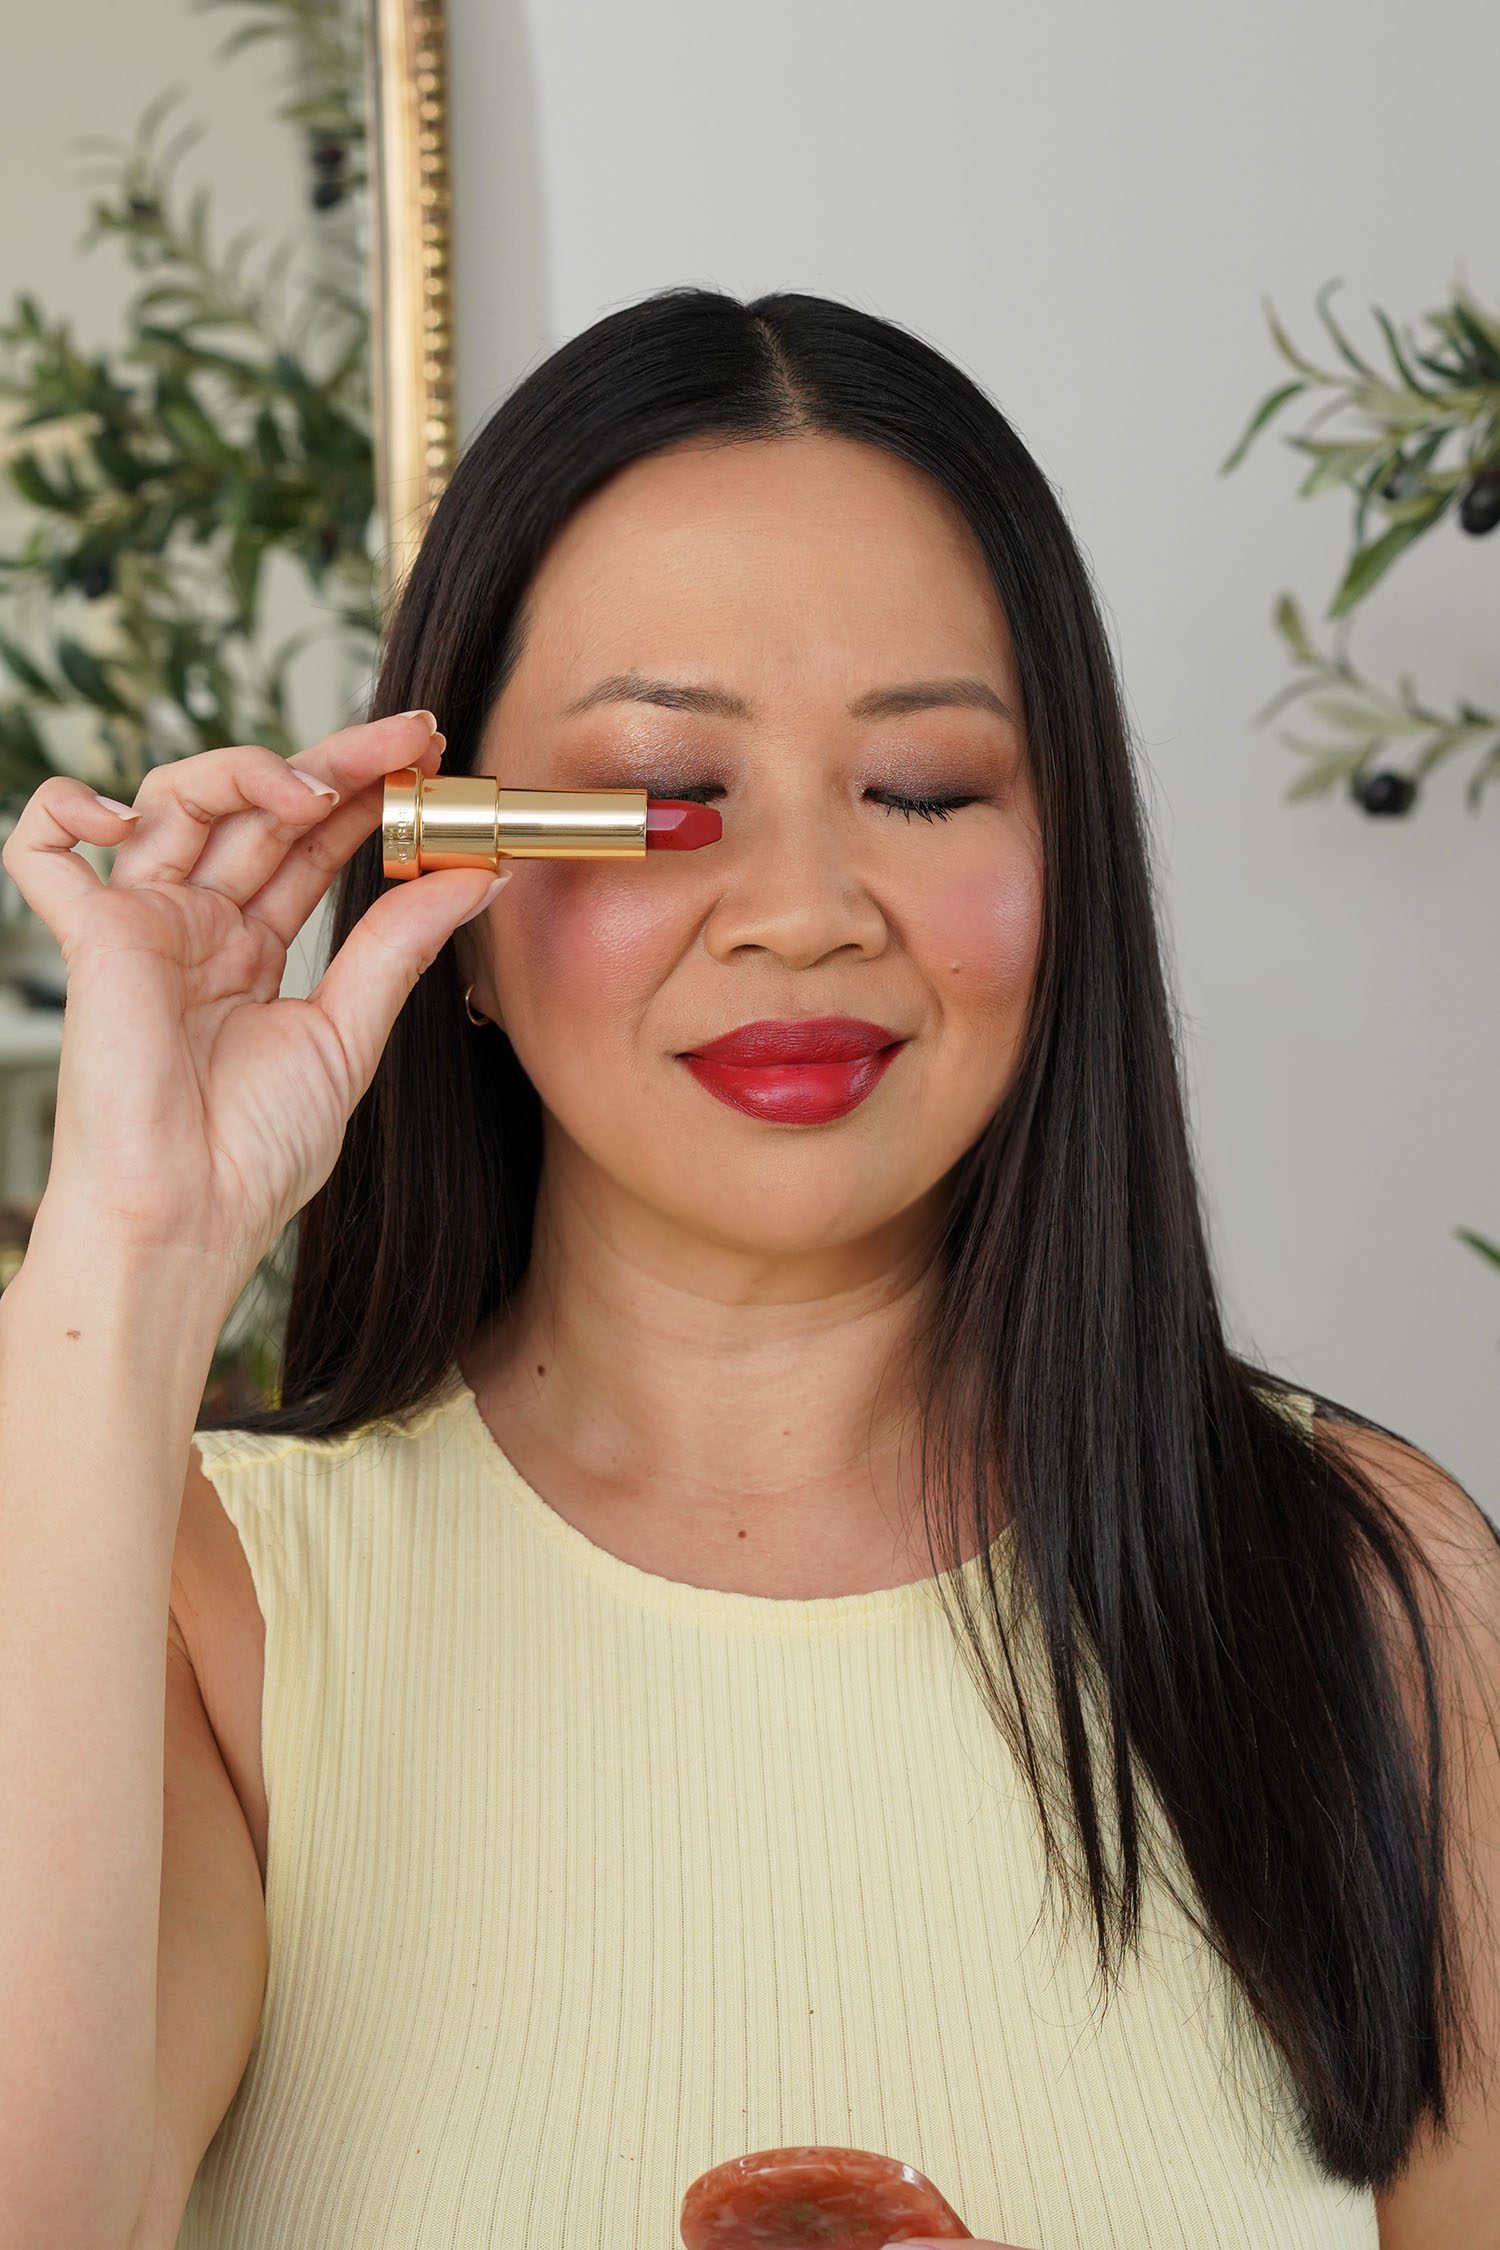
Le Phyto Rouge – NEW shades
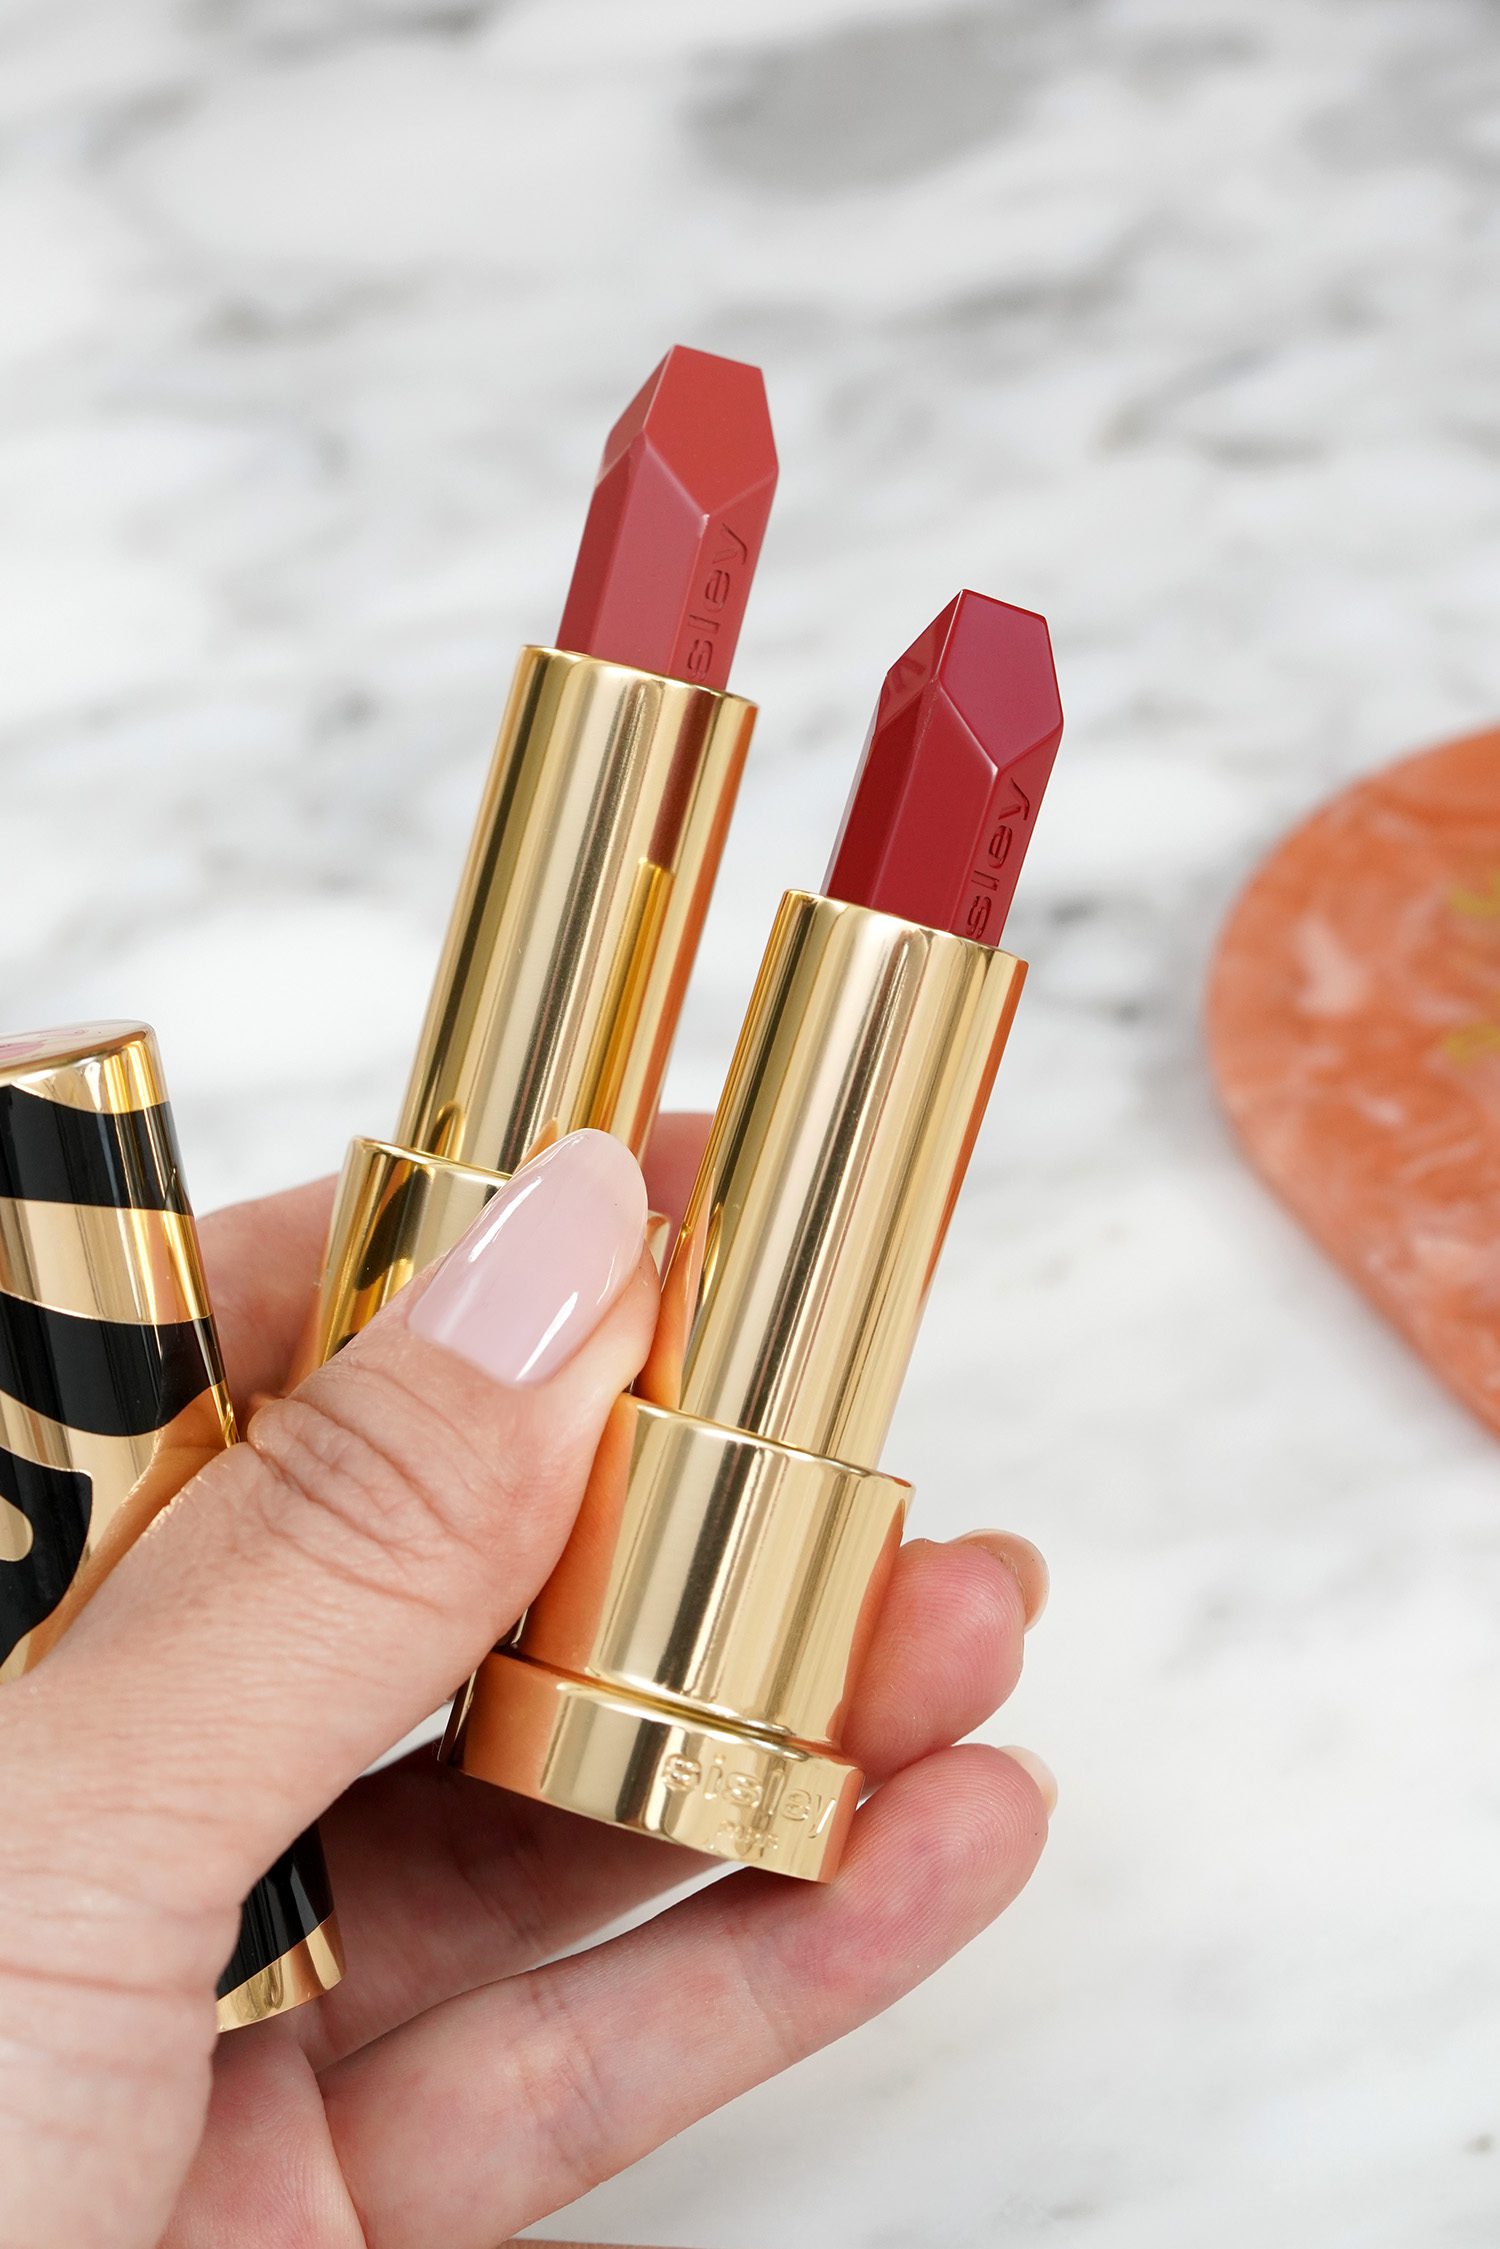
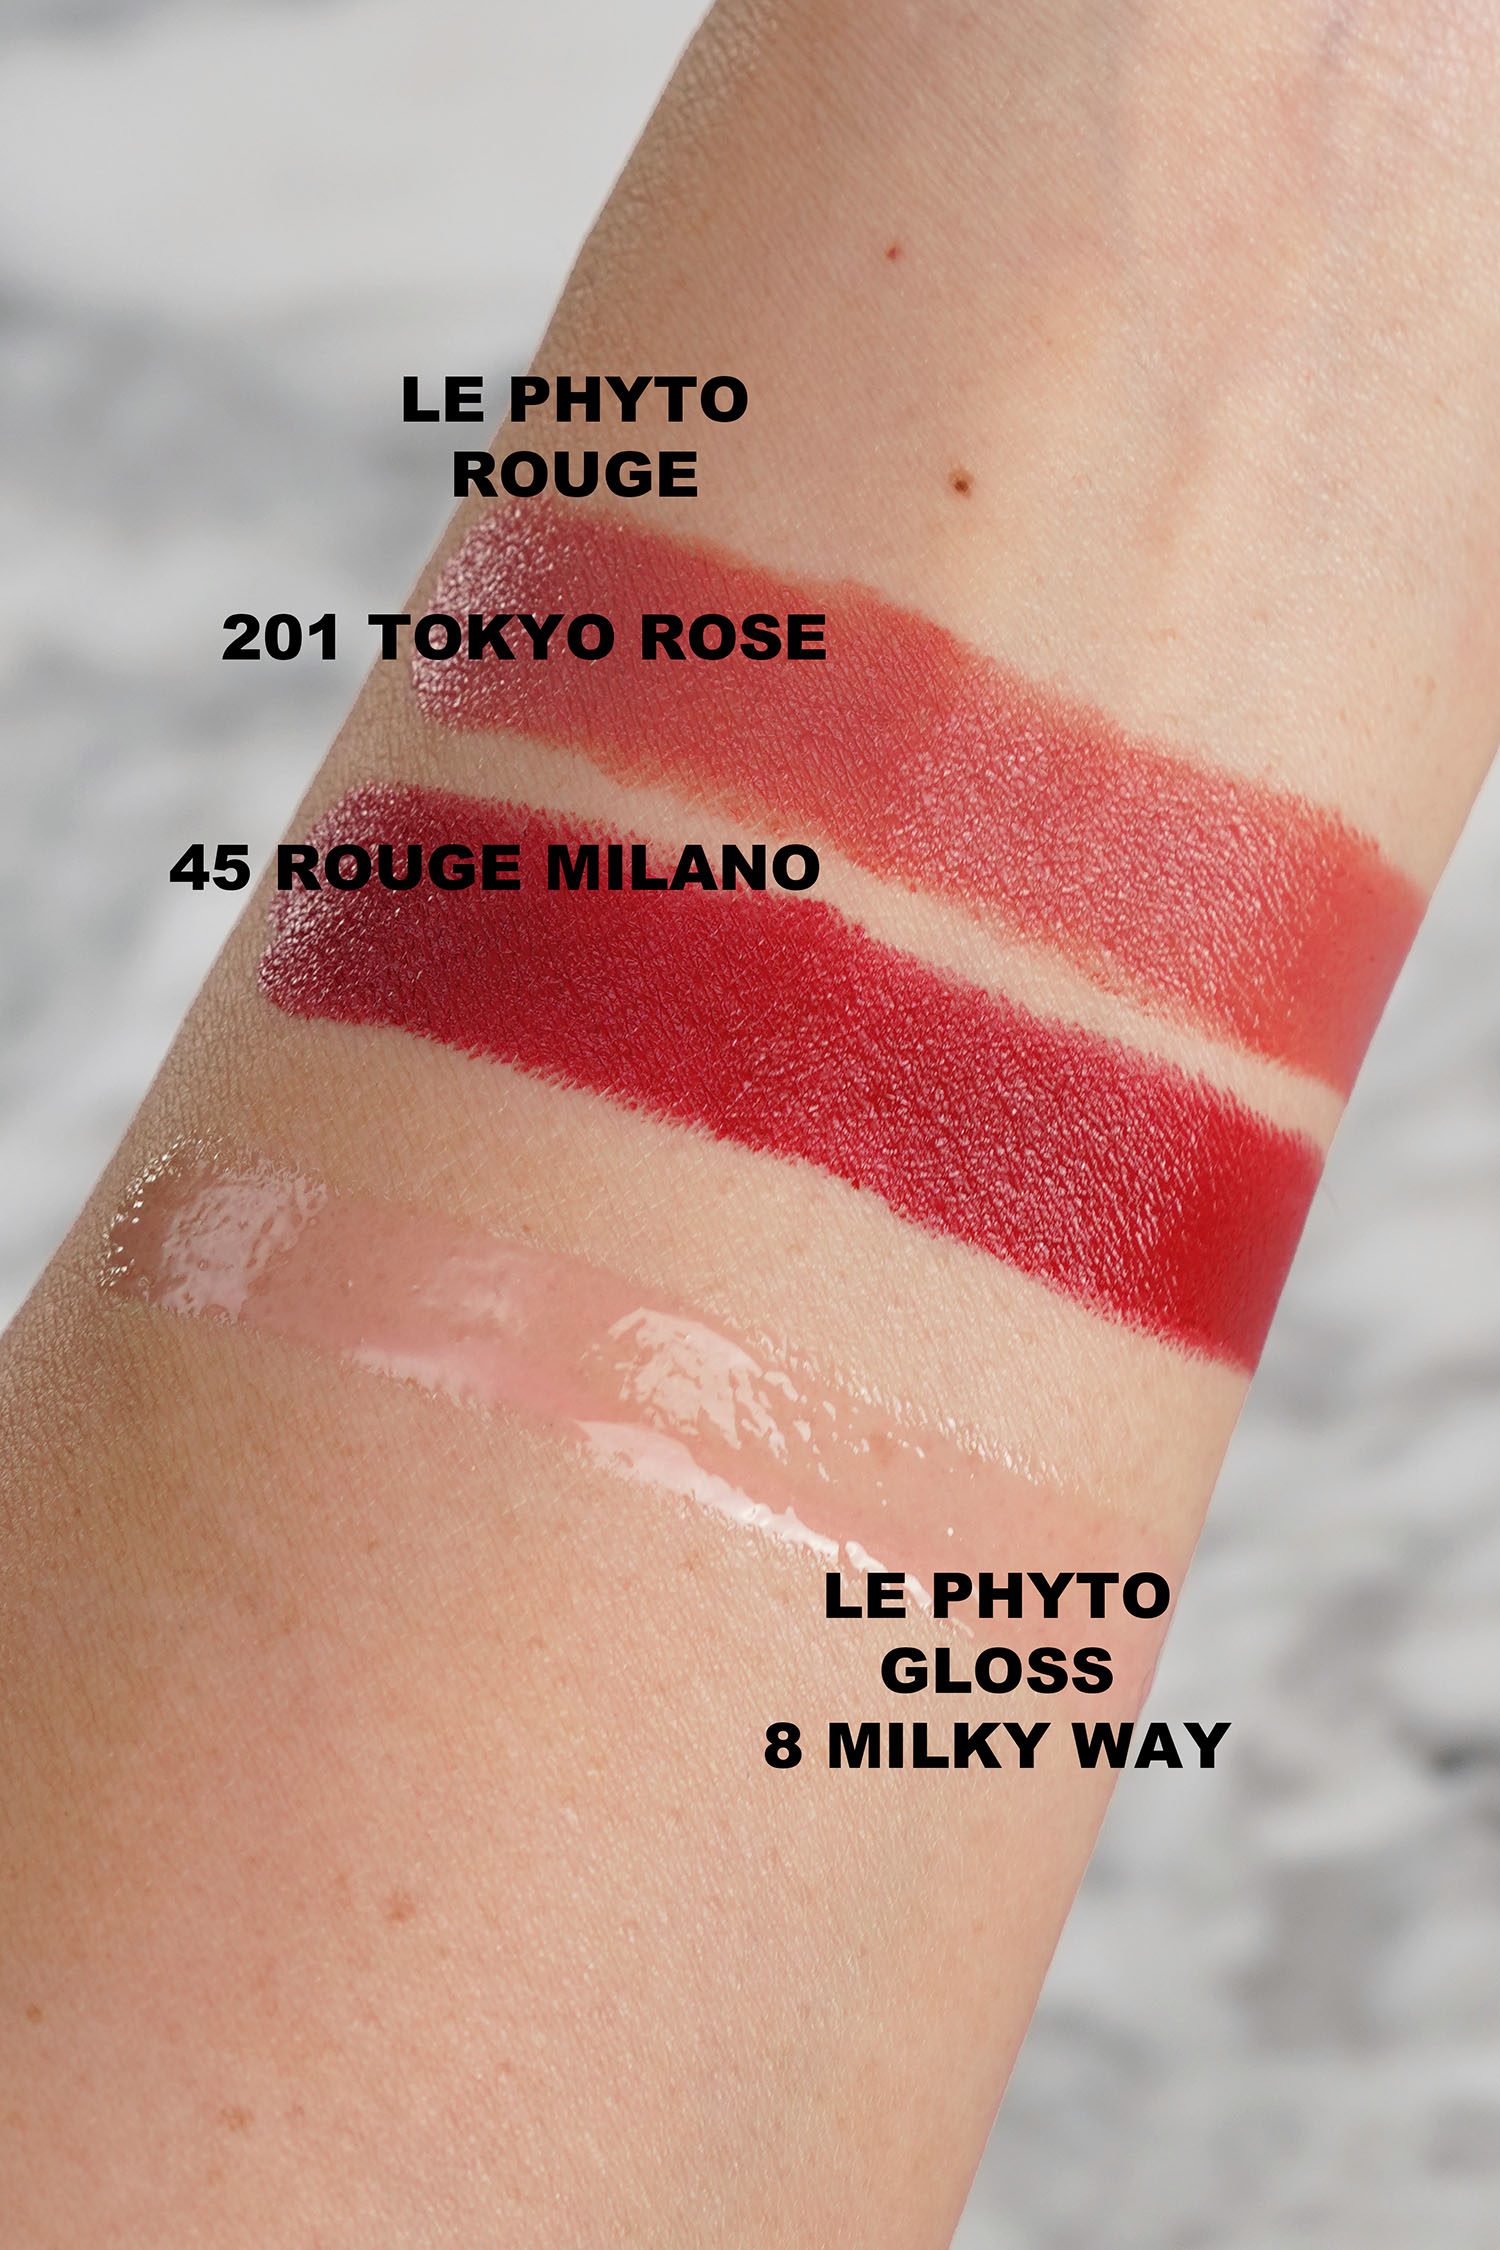
Sisley added new shades of the Le Phyto Rouge Lipstick ($70). These are super creamy, opaque and the formula is absolute perfection. New colors include 201 Tokyo Rose and 45 Rouge Milano. Both pull very warm on me but in the tubes they look more on the neutral side. I love the formula and they don’t really have a scent (they smell like a natural kind of scent). Colors aren’t really me right now but I suspect with a tan I will be wearing 201 more.
Overall love the foundation. I don’t think it will be for everyone though as it’s very matte and I know a lot of you prefer a sheer or dewy finish. Lipstick formula is definitely worth checking out. They have lots of other colors to pick from and if you’re looking for a classic lipstick with great texture, lasting power and opacity the Le Phyto Rouge is among the best. In terms of Sisley lipstick formulas I have to say that the Phyto-Rouge Shine is still my favorite.
For skintone reference I’m linking an older Foundation Shade Guide Roundup I did in 2021. It lists my foundation and concealer shade matches with links to reviews I’ve done. I think it’s time for an update since some of these formulas have since been discontinued. I’ll try to put together an updated one. Quick note that the list is what my matches are most of the year. Right now I’m lighter than nearly everything on the list but I tan easily and will be back to my usual skin tone shade very soon.
Sisley newness available now at Sisley, Nordstrom, Neiman Marcus, Saks Fifth Avenue, Selfridges and all Sisley counters.
Phyto-Teint Perfection and Le Phyto Rouge gifted for review.